Crispy Dairy Free Waffles (Gluten Free)
These dairy free waffles are my go-to homemade waffle recipe for crispy waffles with a fluffy center. They’re naturally gluten free, have simple ingredients, and freeze and reheat really well.
If you want to have homemade waffles on hand whenever you please, consider making a double batch and freezing half for later. The reheated waffles taste just as delicious as they do the first time you make them.
Something about homemade waffles for breakfast midweek makes the week feel a little more festive.
Ingredients
- Brown rice flour – I love this brand for its superfine texture.
- Potato starch – this helps give them crispy edges. Just make sure to not use potato flour as it’s not the same thing.
- Tapioca starch – also called tapioca flour.
- Baking powder – contributes to the light, airy texture.
- Granulated sugar – to add a hint of sweetness.
- Salt – to balance out the flavor.
- Dairy-free milk – I love using oat milk for this recipe, but you could also use unsweetened almond milk, hemp milk, soy milk, etc. Just avoid using canned coconut milk, otherwise, the coconut flavor will be too pronounced.
- Lemon juice – this is used to make vegan buttermilk.
- Olive oil – For crispier edges, use oil instead of butter.
- Eggs – gives the waffles structure.
- Vanilla extract – for flavor.
- toppings (optional) – some of my favorite toppings are fresh berries, pure maple syrup, peanut butter, or vegan butter.
How to Make Dairy Free Waffles
Step 1. Turn your waffle maker on and lightly grease it with cooking spray.
Step 2. Make vegan buttermilk by adding lemon juice to the non-dairy milk of your choice. Set it aside for a few minutes to allow it to curdle.

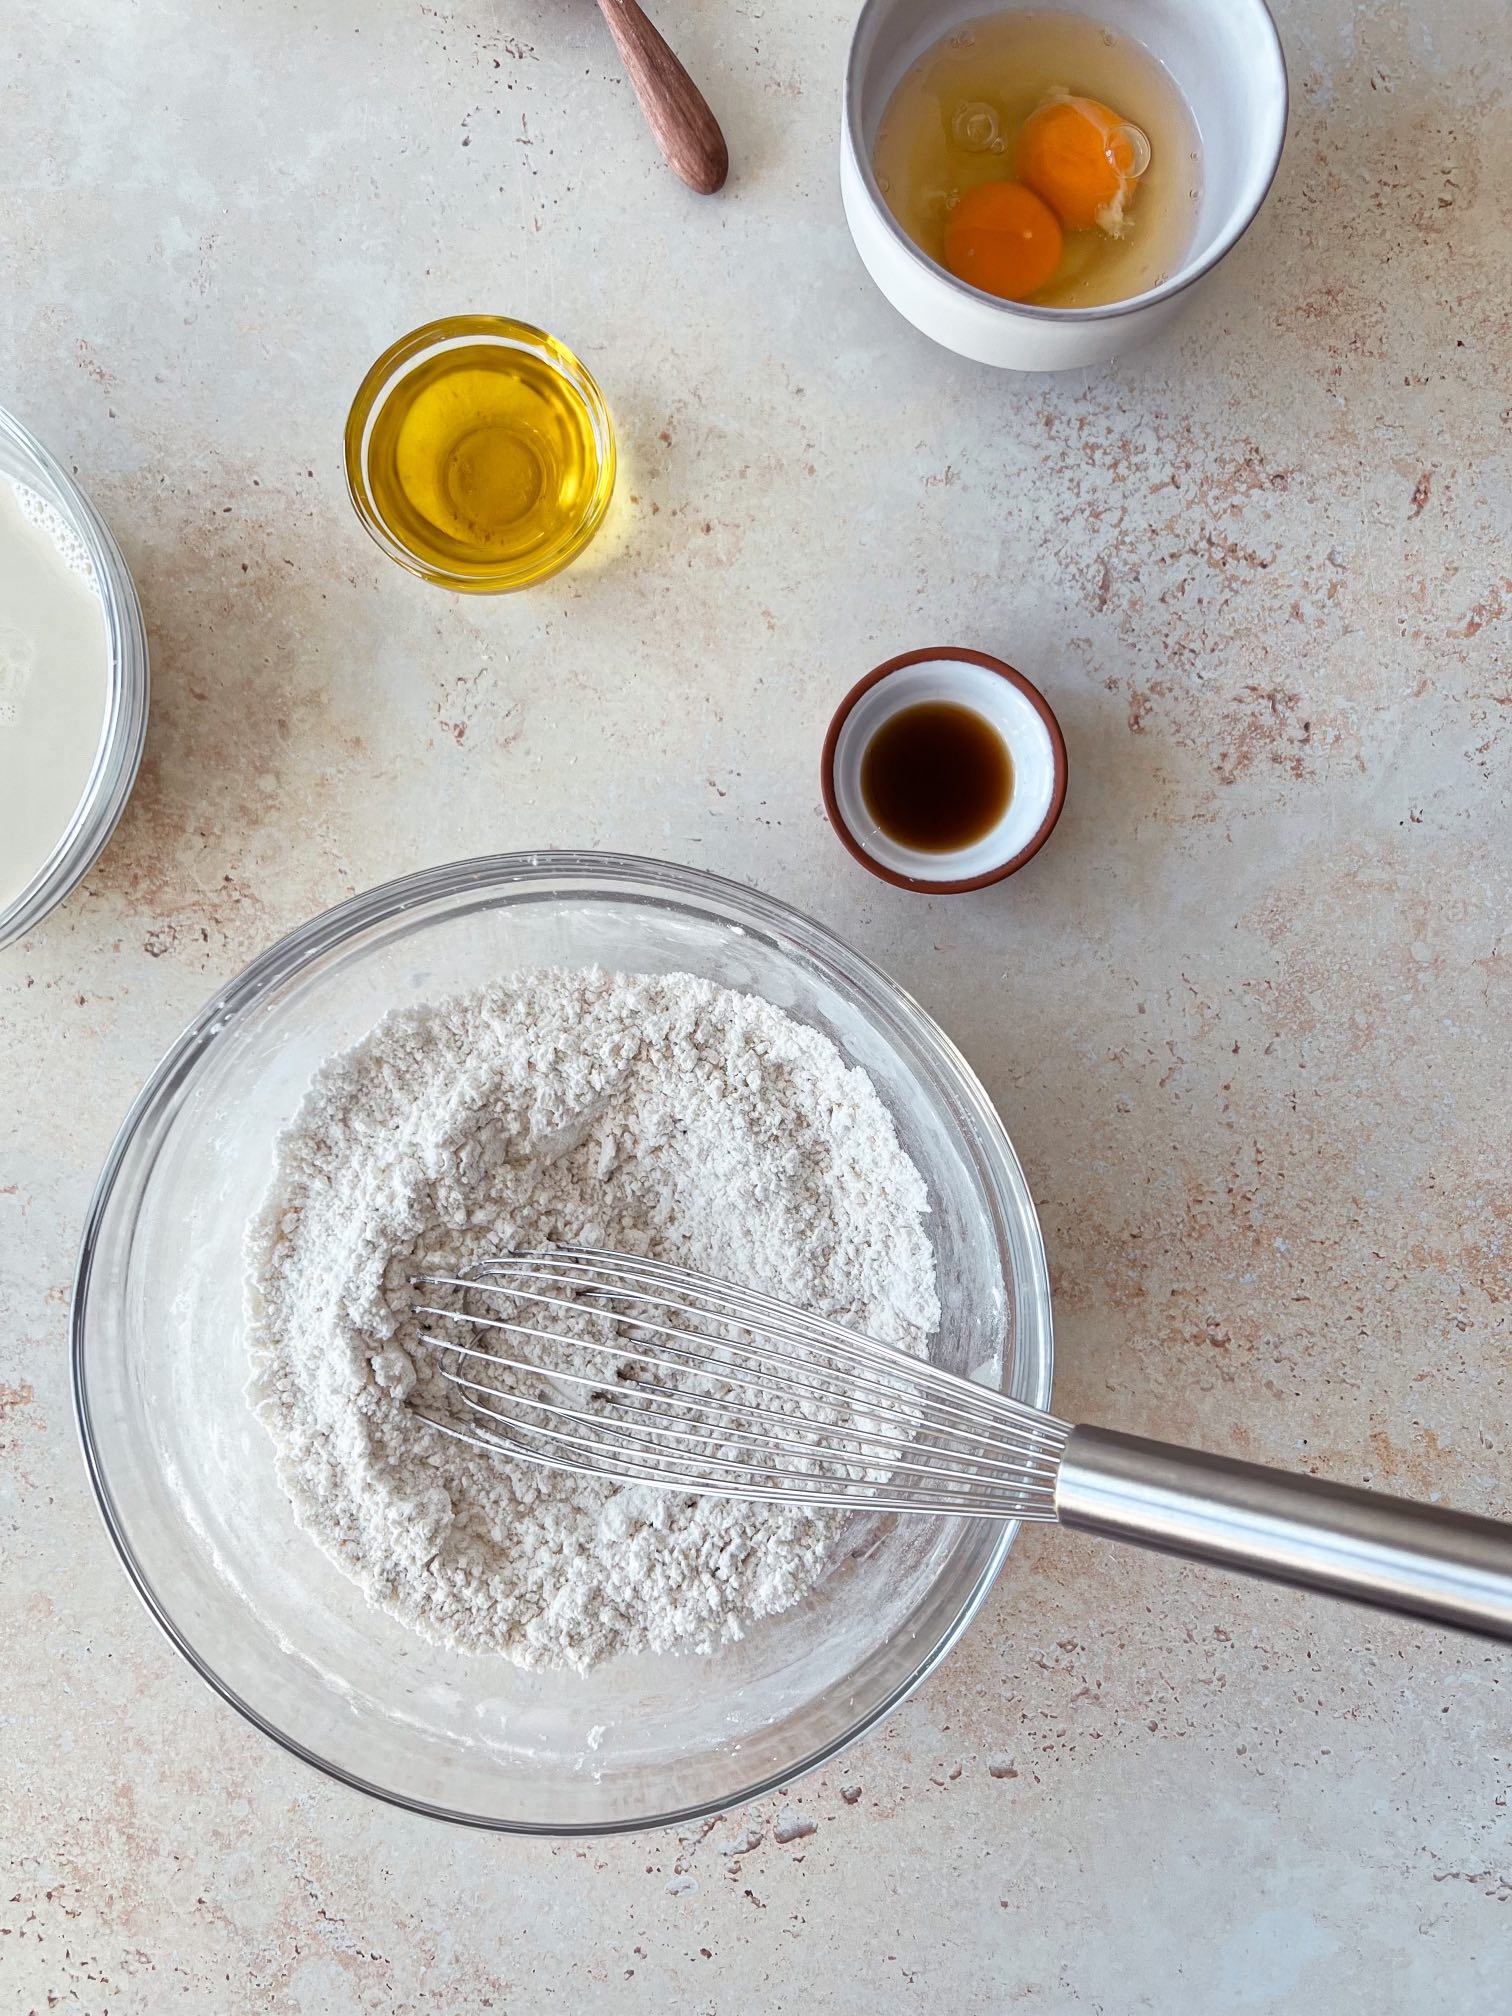
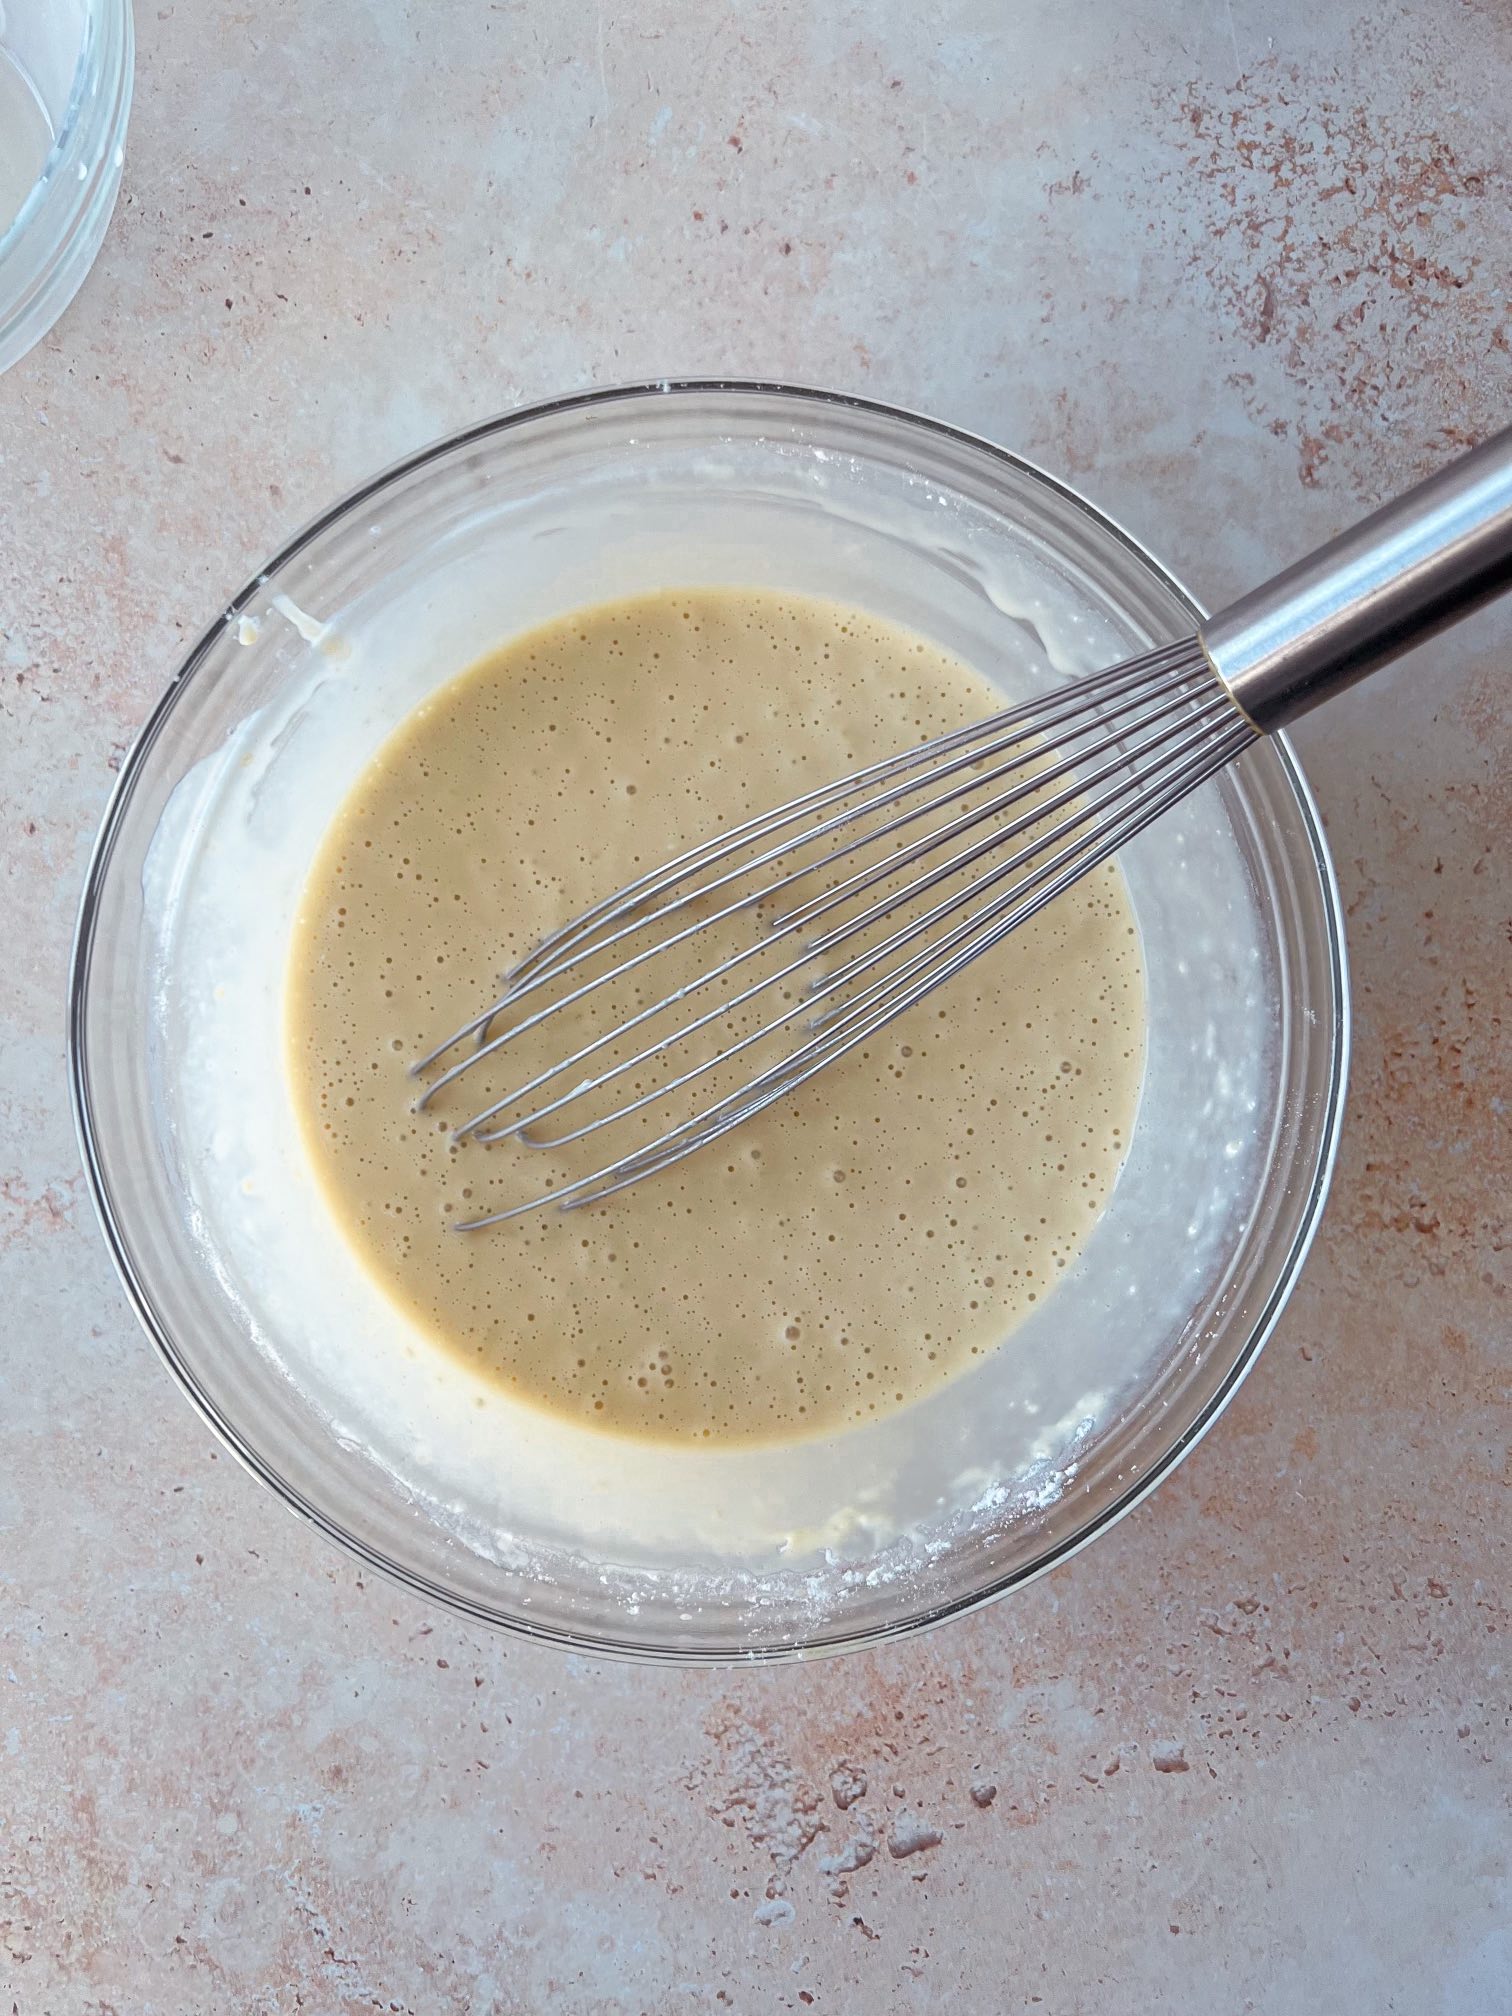
Step 3. In a large mixing bowl, whisk together the dry ingredients. Add in the wet ingredients and whisk until a smooth batter has formed.
Step 4. Pour the waffle batter into the waffle maker and cook according to the manufacturer’s directions.
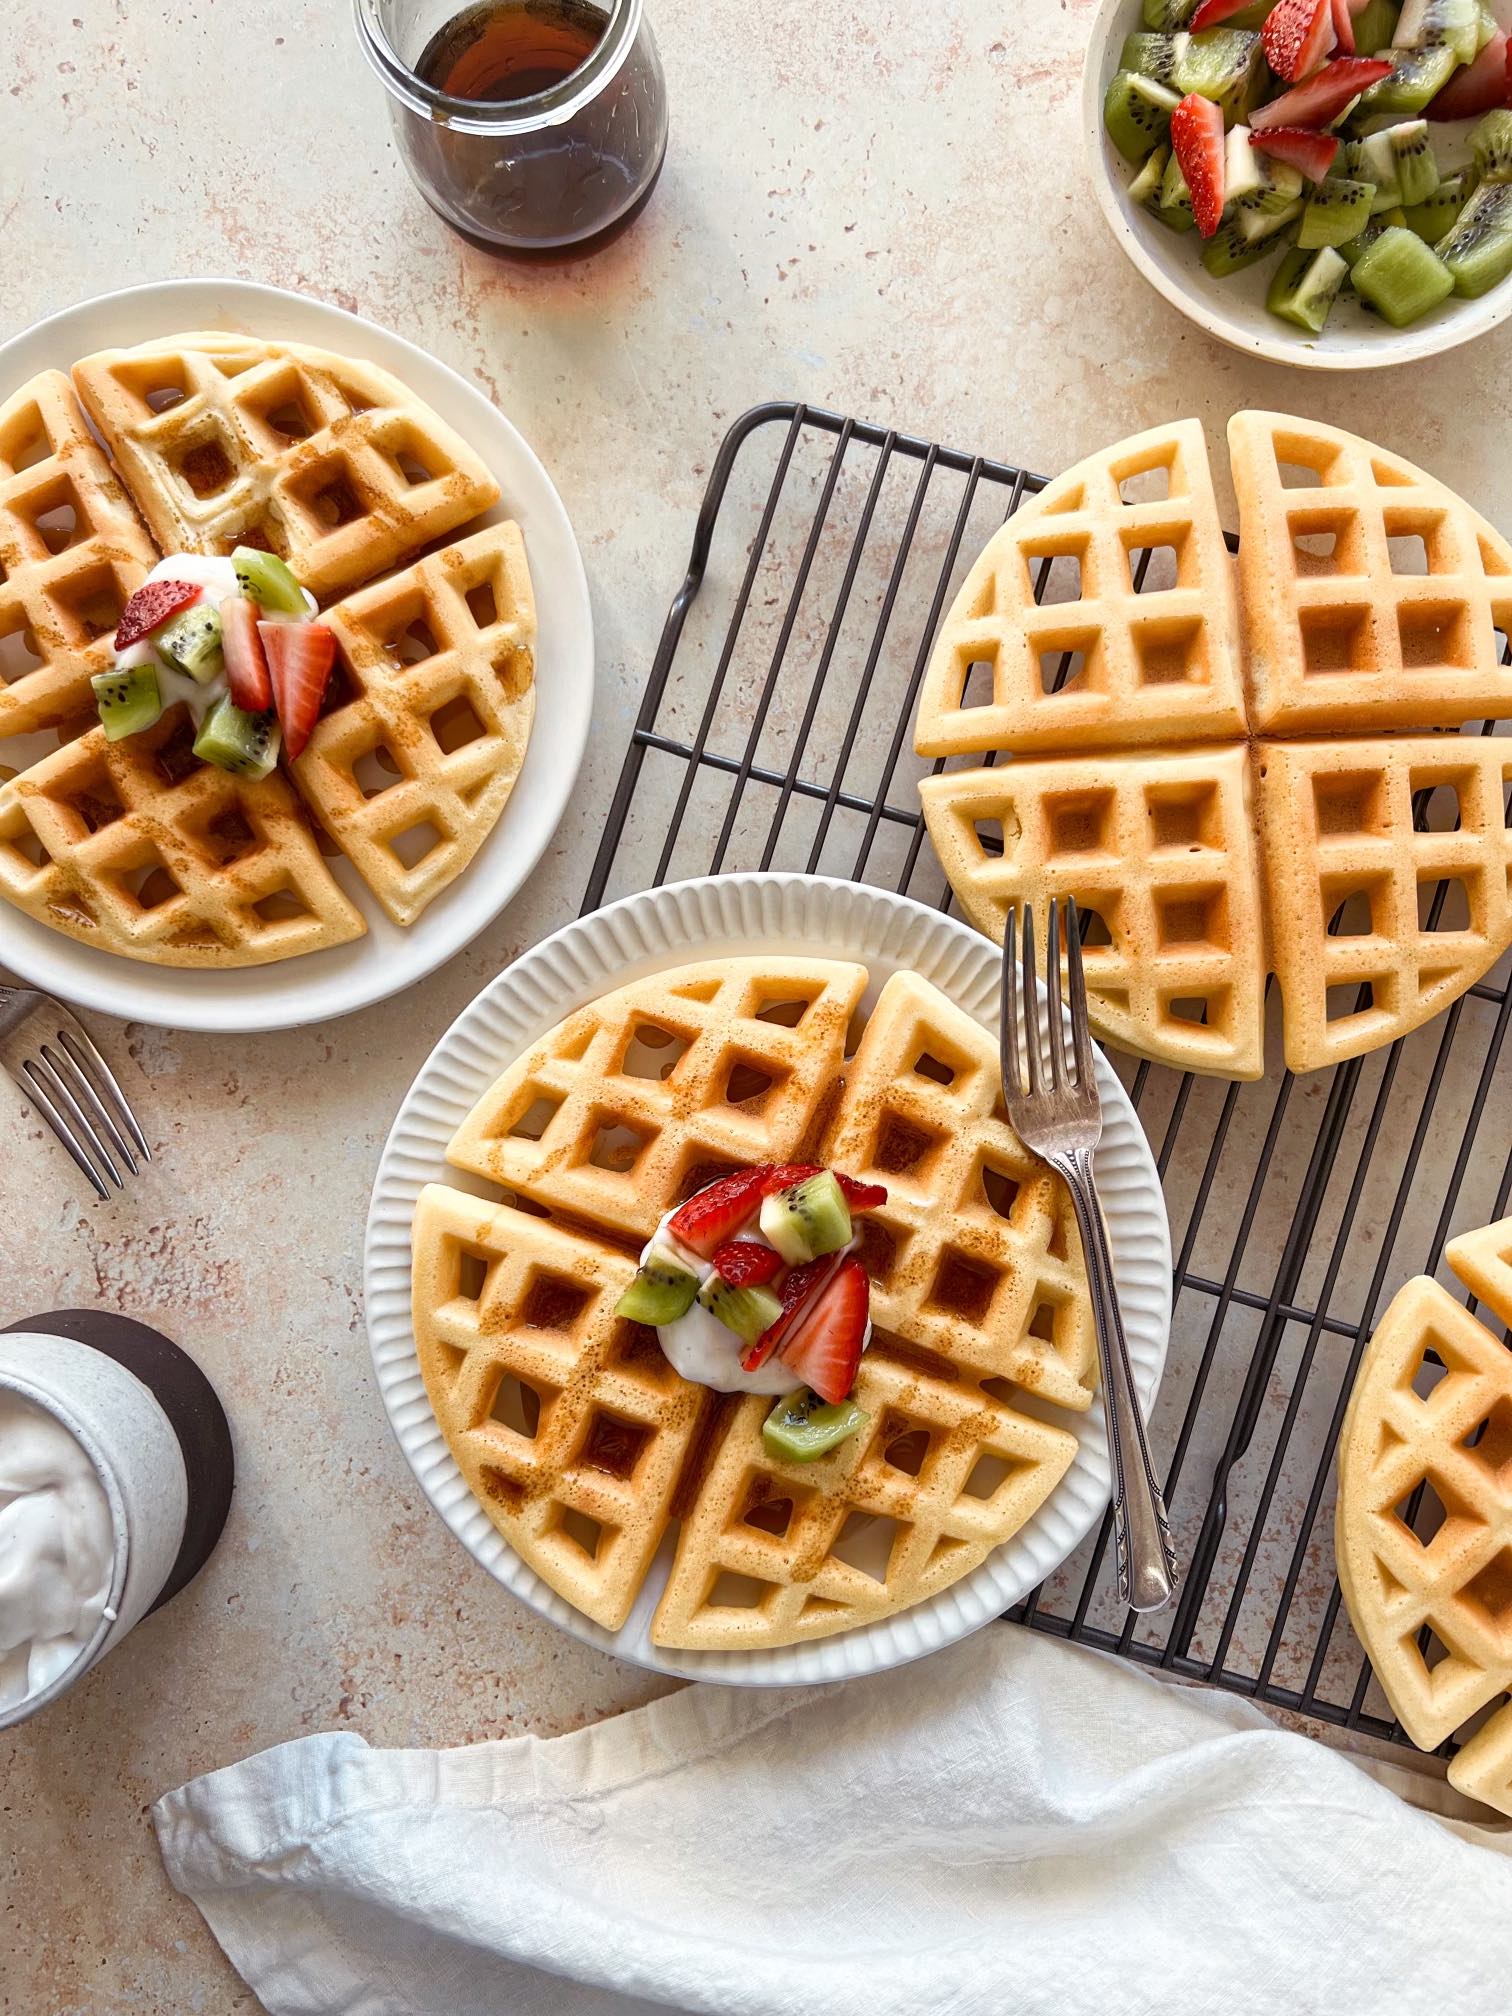
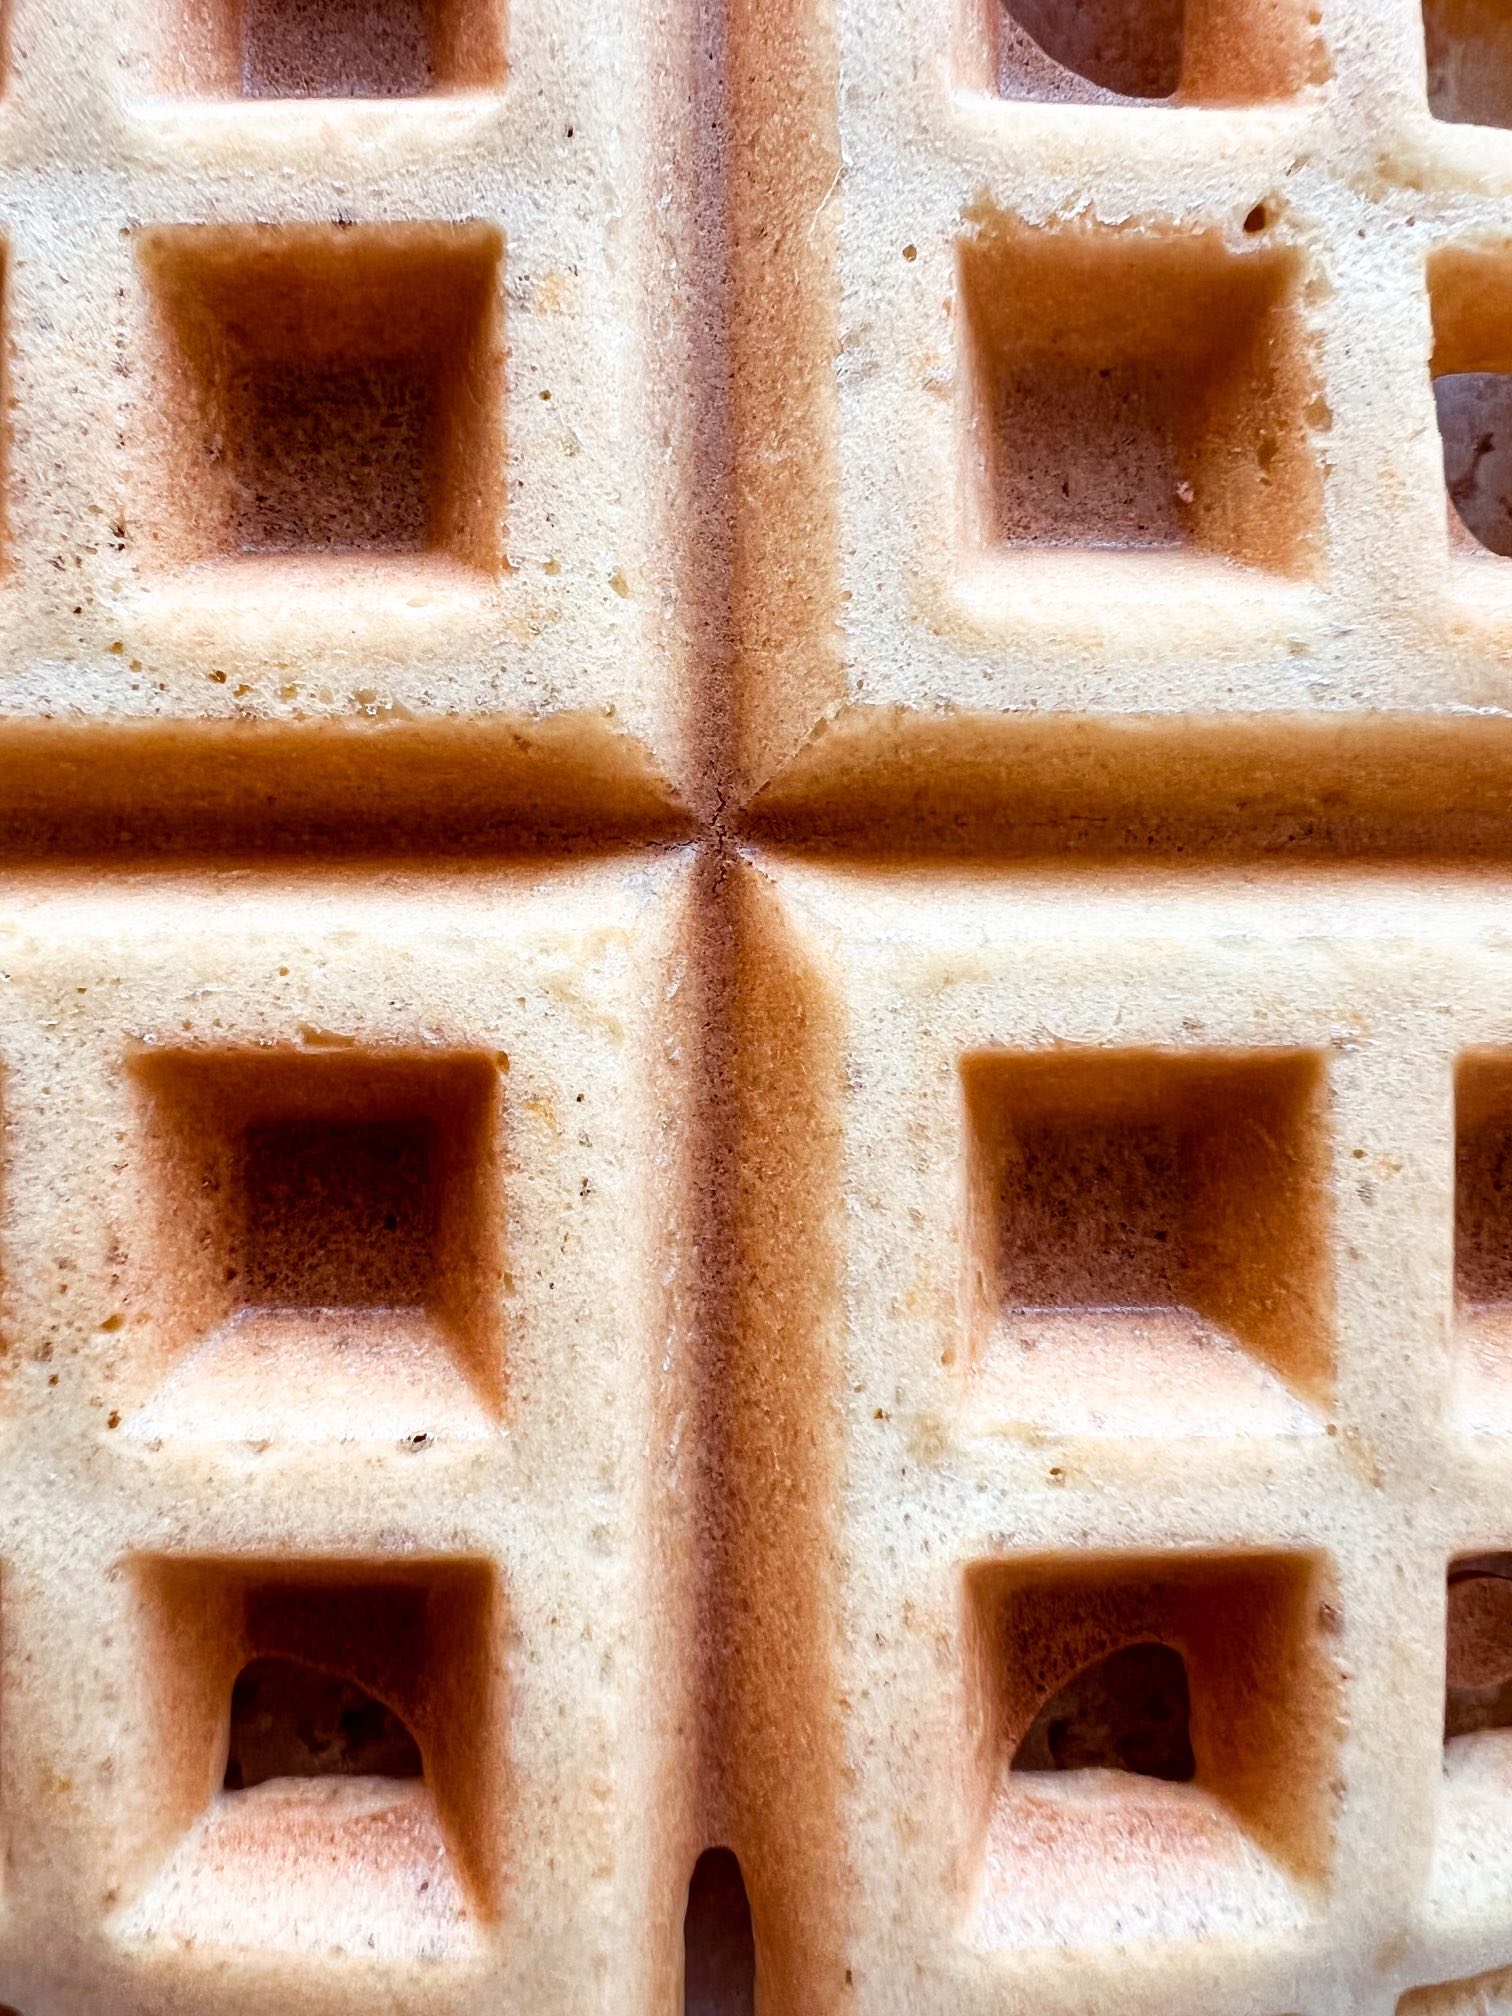
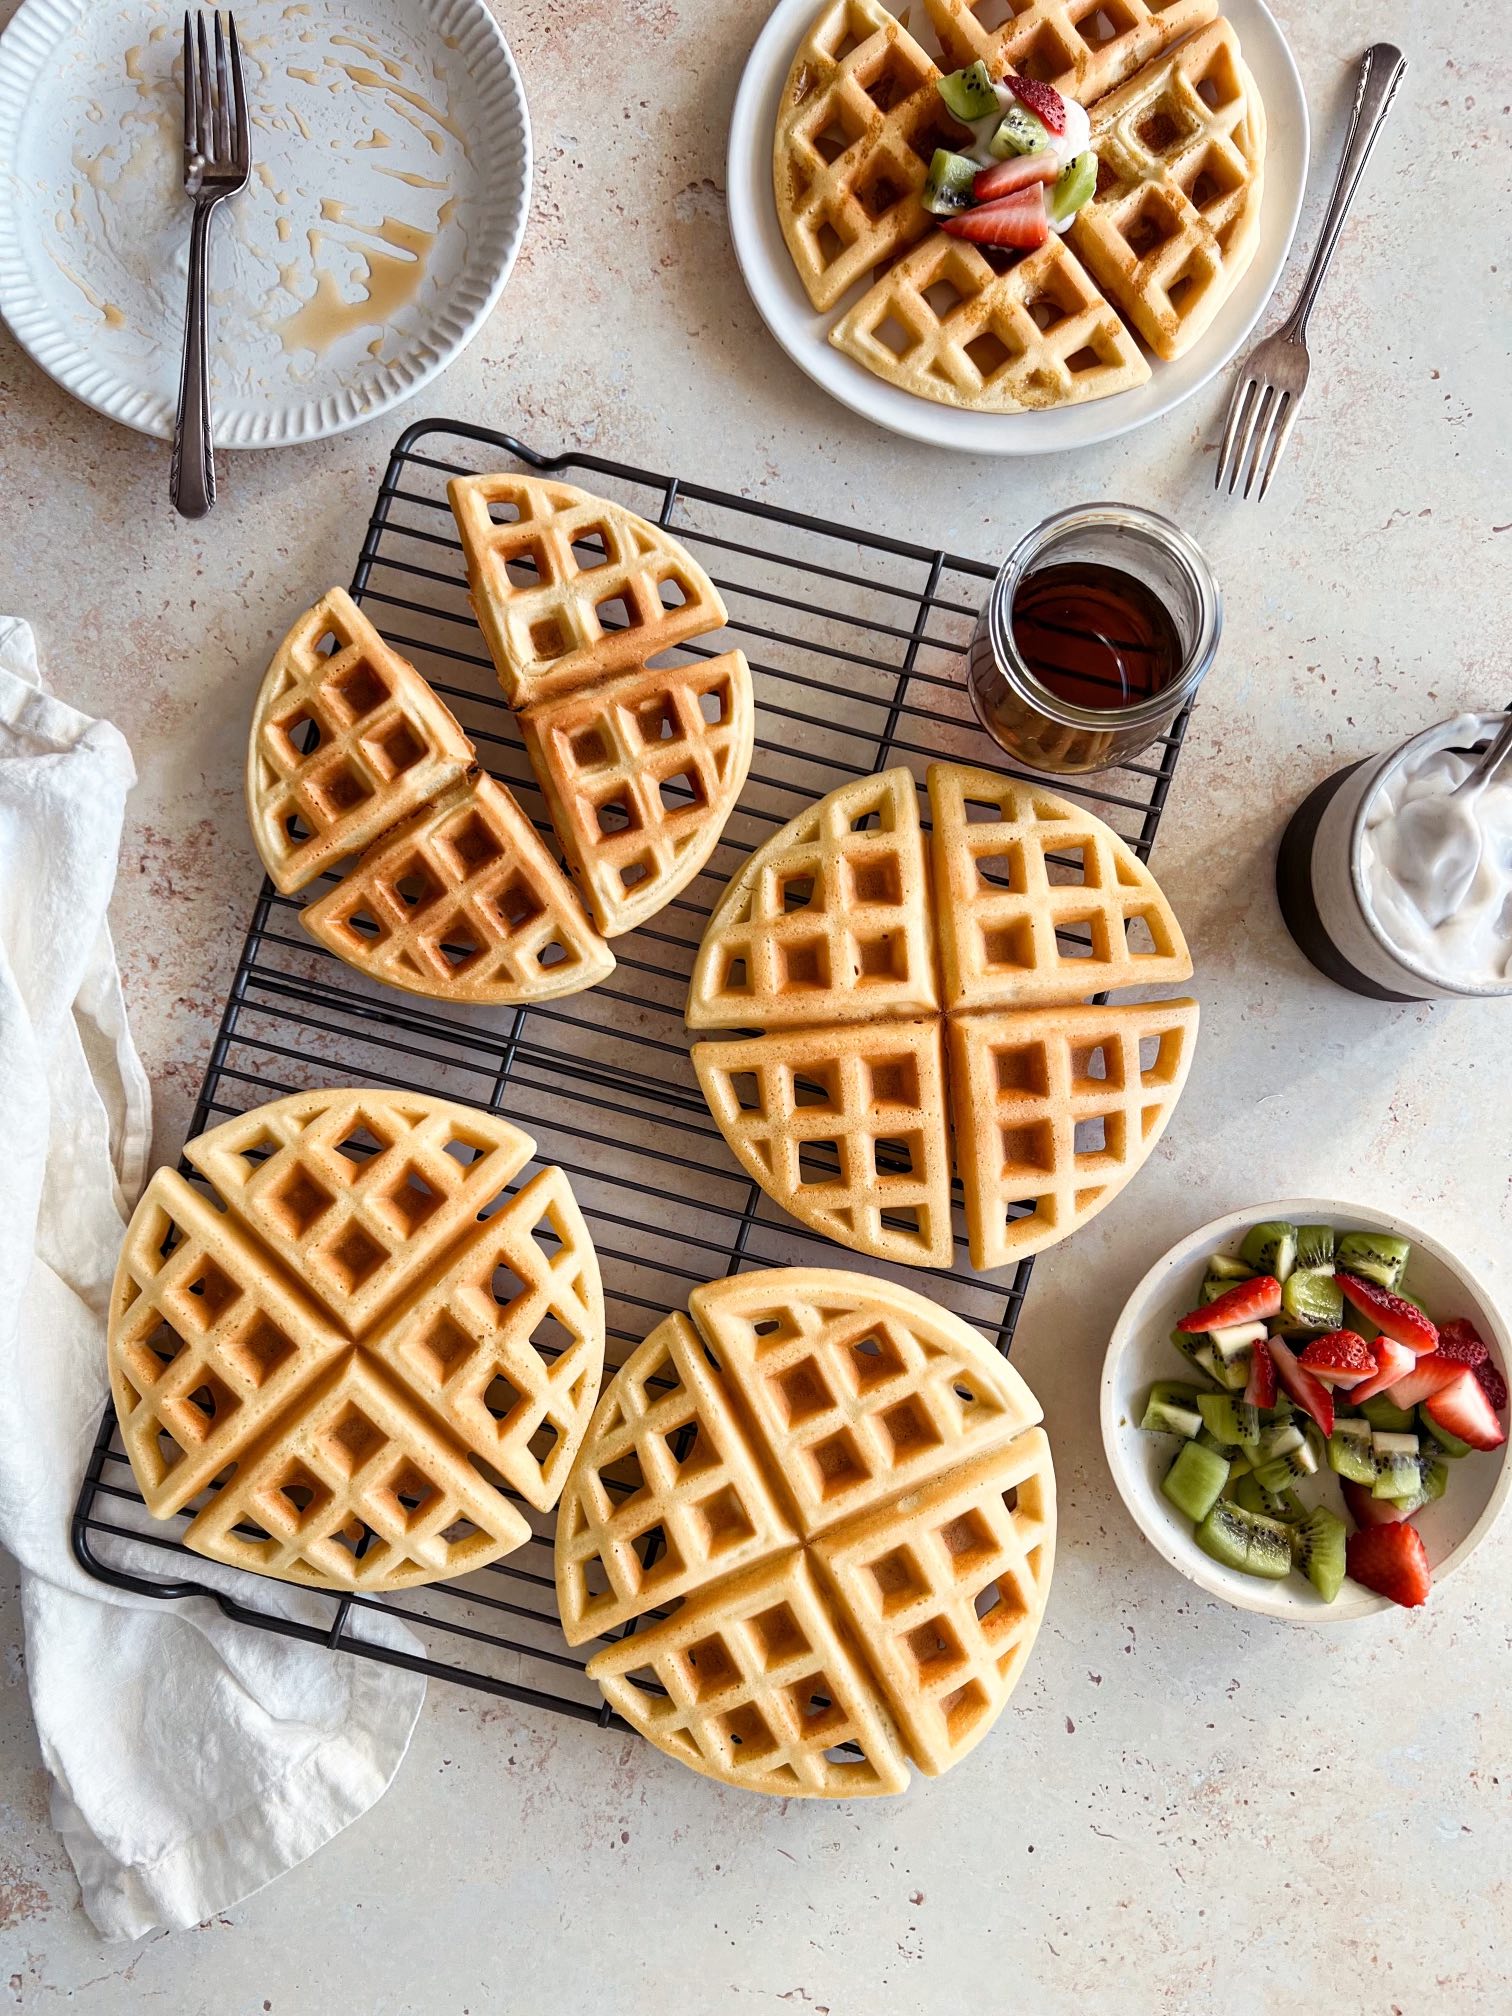
Step 5. Once the waffles are golden and crisp, transfer them to a wire rack. Don’t stack the waffles on top of each other, or they’ll lose their crisp texture. Repeat with the remaining batter. Serve waffles with maple syrup, fresh fruit, yogurt, or any other toppings you want!
Step 6. Store leftover waffles in an airtight container in the refrigerator or freezer. For the best results, reheat the waffles in a toaster oven on the toast setting.
Make It Your Way: Substitutions & Variations
Please remember that recipes are just a starting point.
How can you make these dairy-free waffles using what you already have? Here are some ideas…
- No brown rice flour? – you can also use white rice flour, but make sure it’s very finely milled.
- No potato starch? – cornstarch will also work.
- No olive oil? – you can also use coconut oil (use refined for no coconut flavor) or avocado oil.
- No lemon juice? – use apple cider vinegar instead.
- Not gluten-free? – use 1 3/4 cups all-purpose flour or a combination of all-purpose and whole wheat flour.
Recommended Tools
Frequently Asked Questions
Yes, these dairy free waffles freeze amazingly well. Let them cool to room temperature then transfer to an airtight freezer-safe bag. Store in the freezer for up to 3 months.
The best ways to reheat waffles are either in a toaster oven on the toast setting or on a baking sheet in a preheated 300ºF/150ºC oven for 10 minutes (or 15 minutes if they’re frozen).
The number of waffles this recipe makes will depend on the amount of batter you use for each waffle and also the size of your waffle maker. For reference, I used ½ cup of batter per waffle and mine made 7 Belgian-style waffles.
More Breakfast Recipes
Crispy Dairy Free Waffles (Gluten Free)
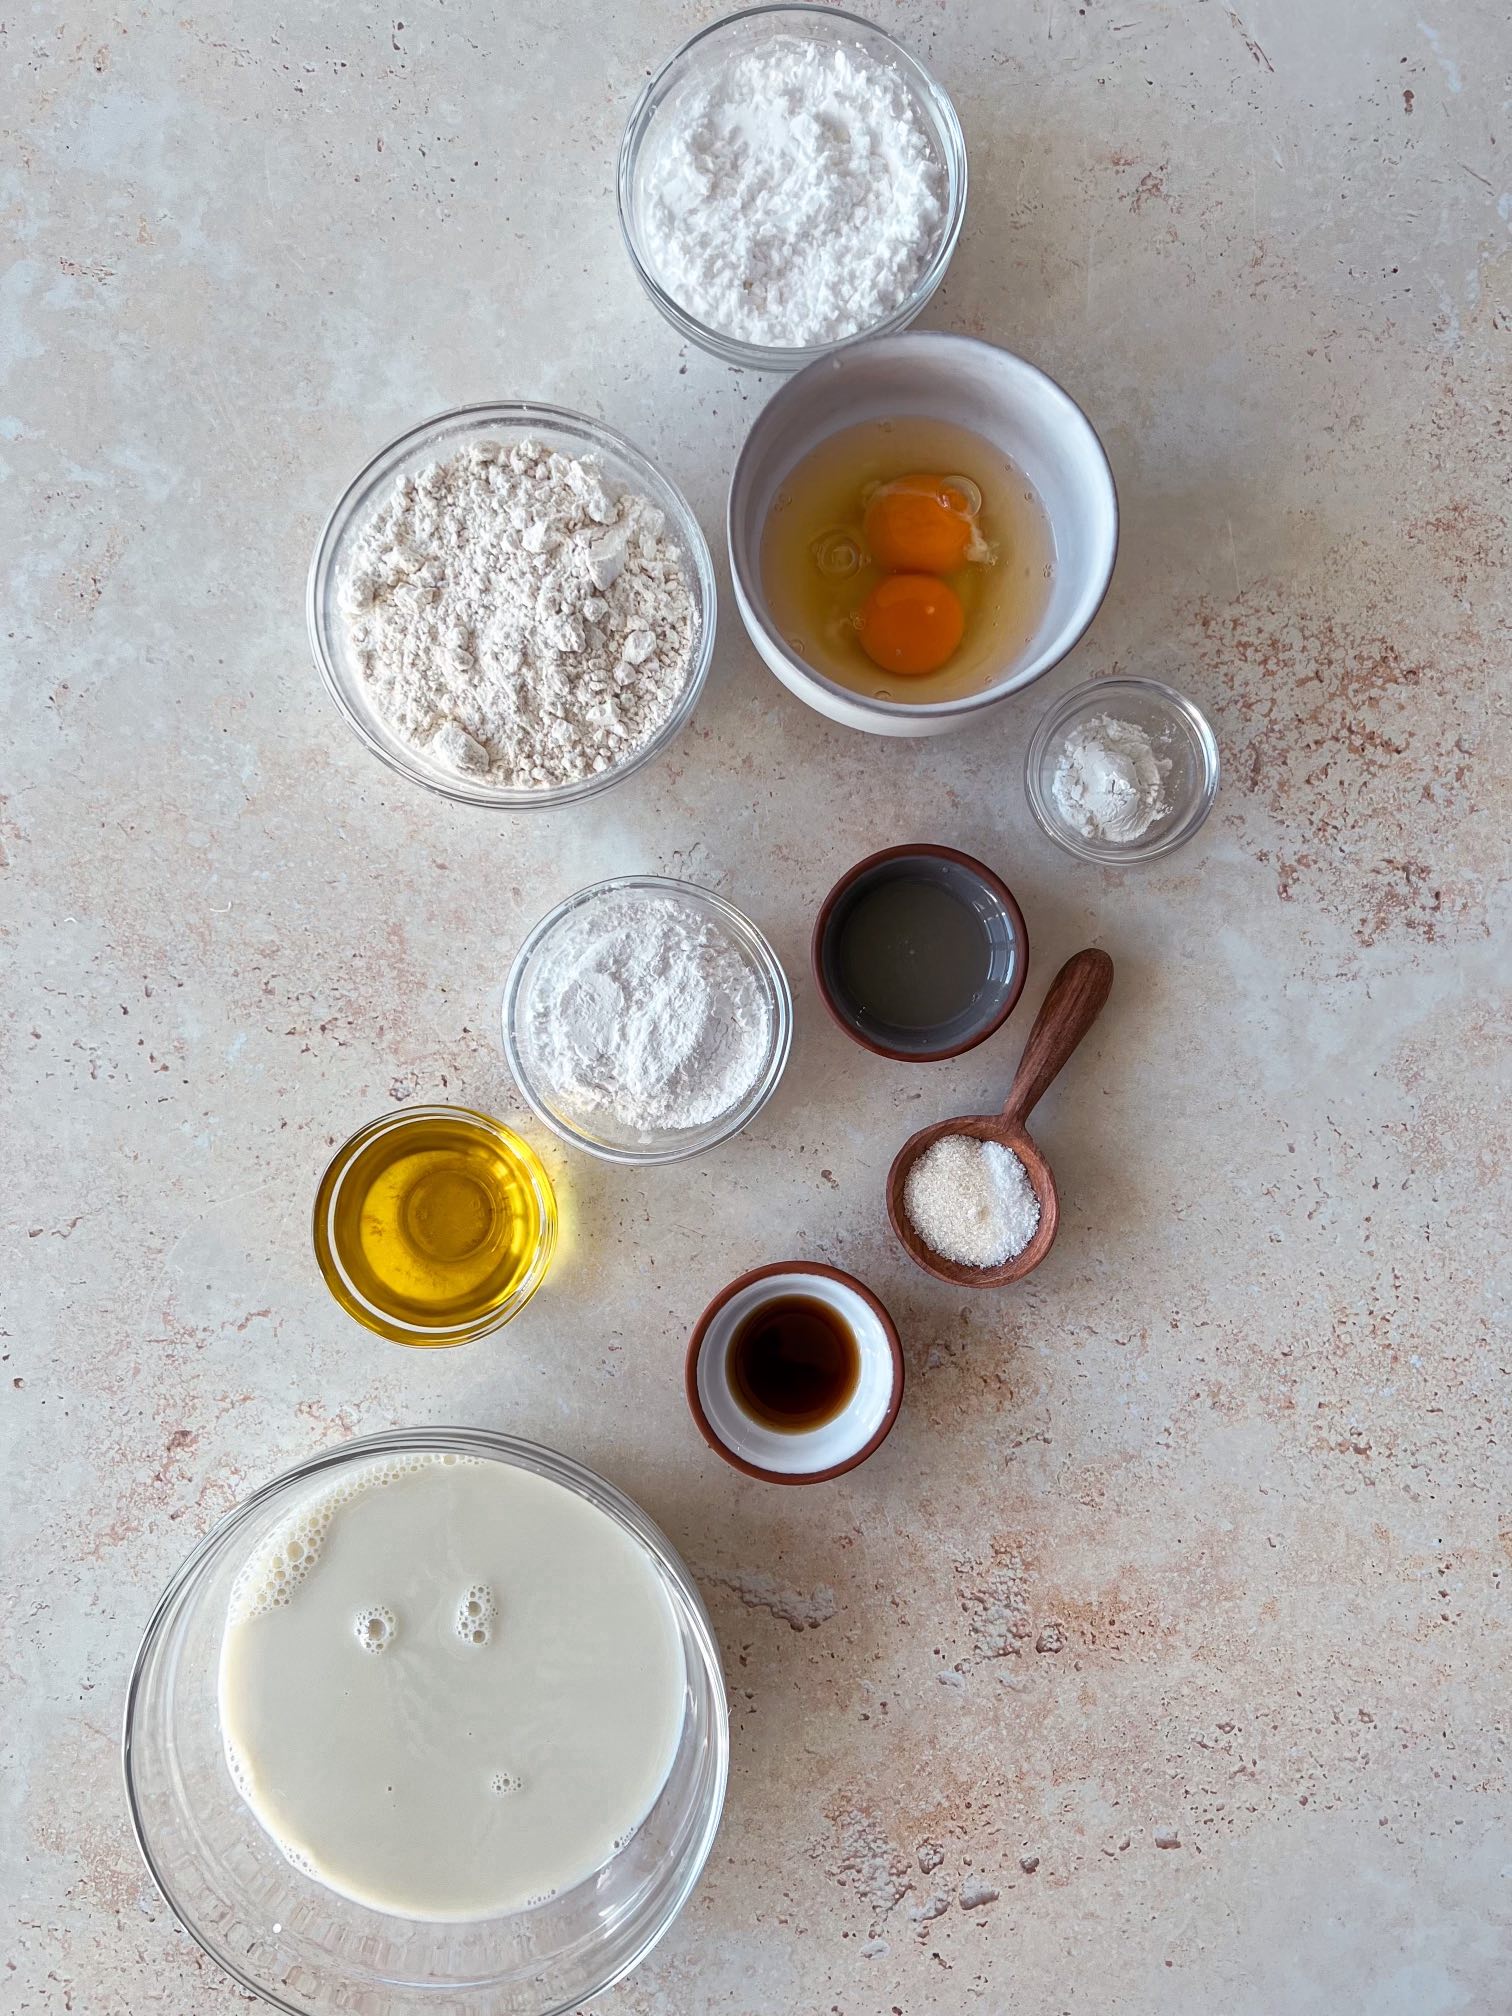
Ingredients
Vegan Buttermilk
- 1½ cups non-dairy milk of choice
- 1 tablespoon lemon juice
Dry Ingredients
- 1 cup brown rice flour see notes below
- ½ cup potato starch not potato flour
- ¼ cup tapioca starch
- 2 teaspoons baking powder not baking soda
- 1 teaspoon sugar
- ½ teaspoon diamond crystal kosher salt
Wet Ingredients
- ¼ cup olive oil sub refined coconut oil or avocado oil
- 2 large eggs
- 1 teaspoon vanilla extract
Instructions
- Turn your waffle maker on and lightly grease it with cooking spray.
- Make vegan buttermilk by adding lemon juice to the non-dairy milk of your choice. Set it aside for a few minutes to allow it to curdle.
- In a large mixing bowl, whisk together the dry ingredients. Add in the wet ingredients and vegan buttermilk and whisk until a smooth batter has formed.
- Pour the waffle batter into the waffle maker and cook according to the manufacturer's directions.
- Once the waffles are golden and crisp, transfer them to a wire rack but don’t stack them on top of each other, or they’ll lose their crisp texture. Repeat with the remaining batter. Serve waffles with maple syrup, fresh fruit, yogurt, or any other toppings you want!
- Store leftover waffles in an airtight container in the refrigerator or freezer. For the best results, reheat the waffles in a toaster oven on the toast setting.