Hasselback Butternut Squash With Maple Glaze
This maple-glazed Hasselback butternut squash recipe with sage is a beautiful side dish for any holiday table or special occasion. It’s dairy free, nut free, and easy to customize.
Similar to hasselback potatoes, these hasselback squash are cooked similarly, but with all the flavors and colors of fall. Although it looks elaborate, it’s quite easy to make once you know a few simple tricks.
Serve this dish at a special dinner such as Christmas dinner or any time of year when squash is in season alongside other side dishes such as green beans, warm potato asparagus salad, or marinated portobello mushrooms.
Ingredients
You only need a few simple ingredients such as:
- Butternut squash – we’ll be utilizing the whole vegetable including the seeds.
- Olive oil – to brush on the squash while it bakes.
- Maple glaze – a combination of extra virgin olive oil or melted vegan butter, maple syrup, white wine vinegar, Dijon mustard, fresh sage leaves, cayenne pepper, kosher salt, and black pepper.
How To Make Hasselback Butternut Squash
Step 1. Use a vegetable peeler to peel the whole squash, then cut a thin slice off the top and bottom of the squash and stand it upright with the flat bottom surface down on a cutting board. Cut the squash in half with a very sharp knife, and scoop out the seeds, discarding the stringy bits. See this post for a visual.
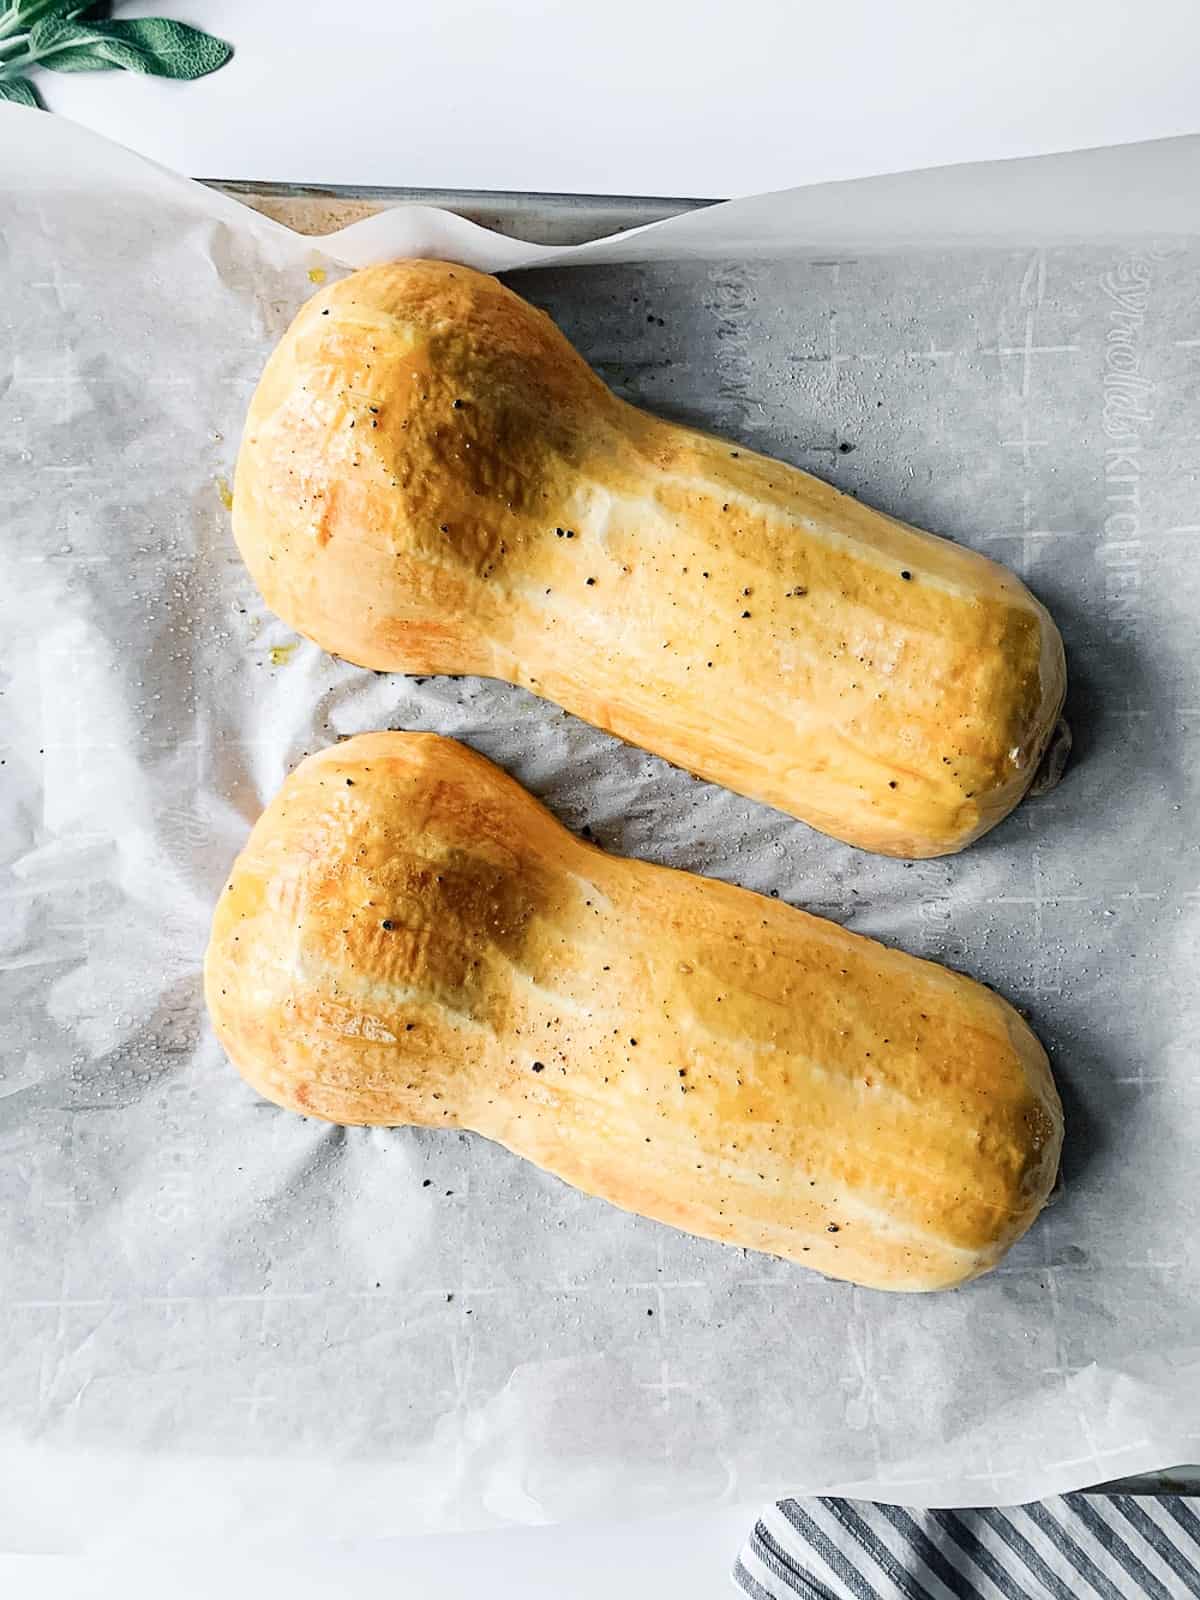
Step 2. Place the squash halves cut side down on a sheet pan lined with parchment paper. Brush the squash with oil and season it with salt and black pepper. Roast for 15 minutes.
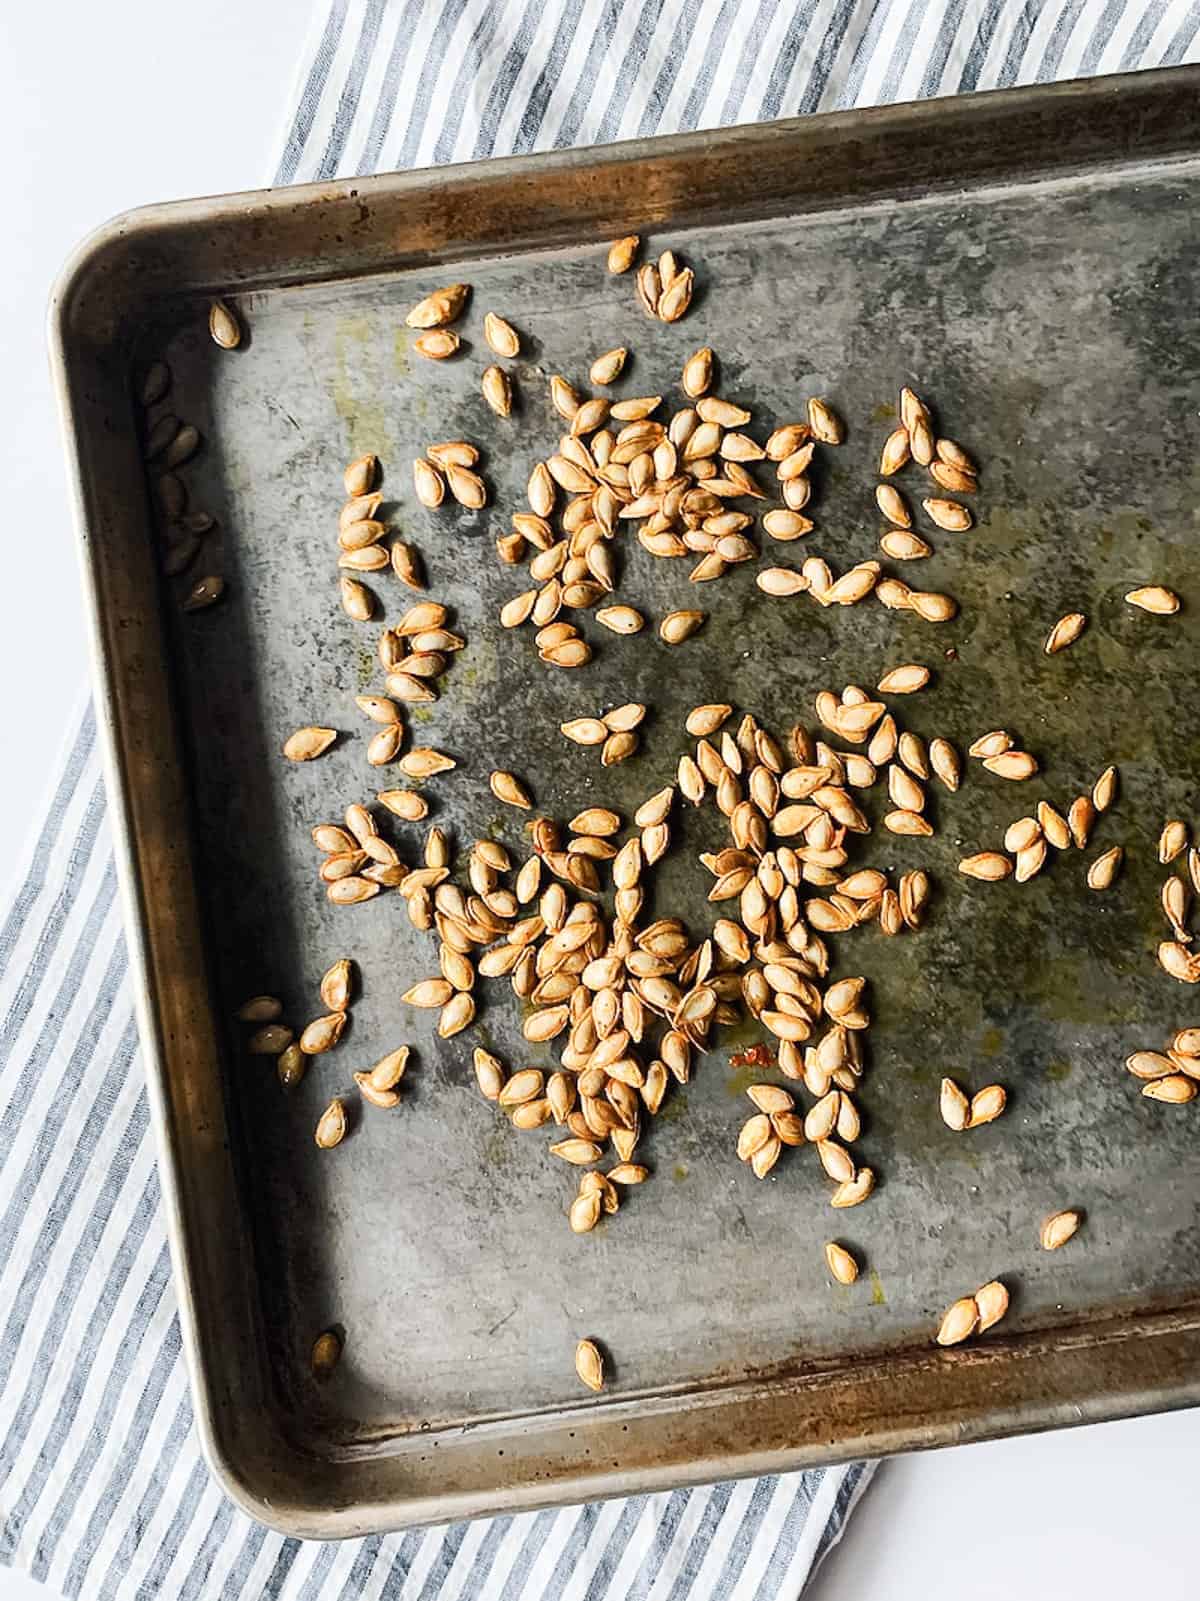
Step 3. Add the butternut squash seeds to a small baking dish. Toss with olive oil, salt, and pepper, and spread them into an even layer. Roast the seeds for 10-12 minutes (check after 10) then set aside to cool.
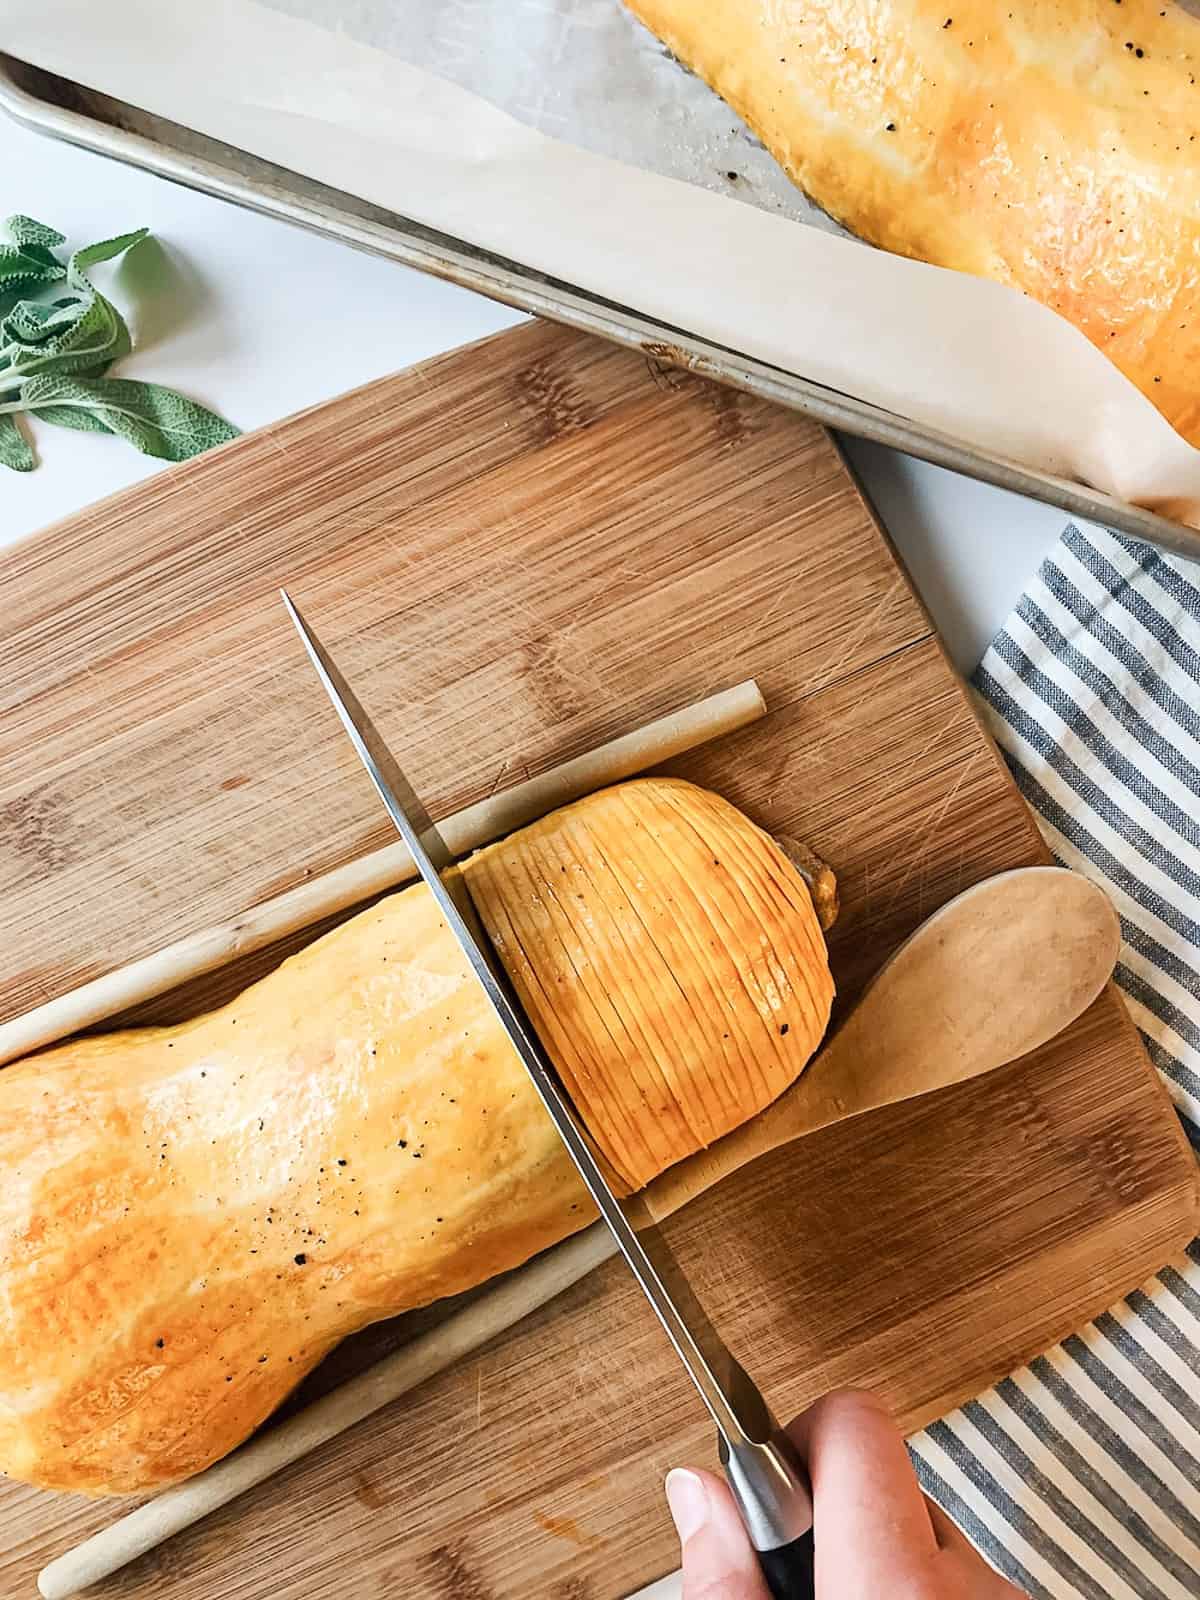
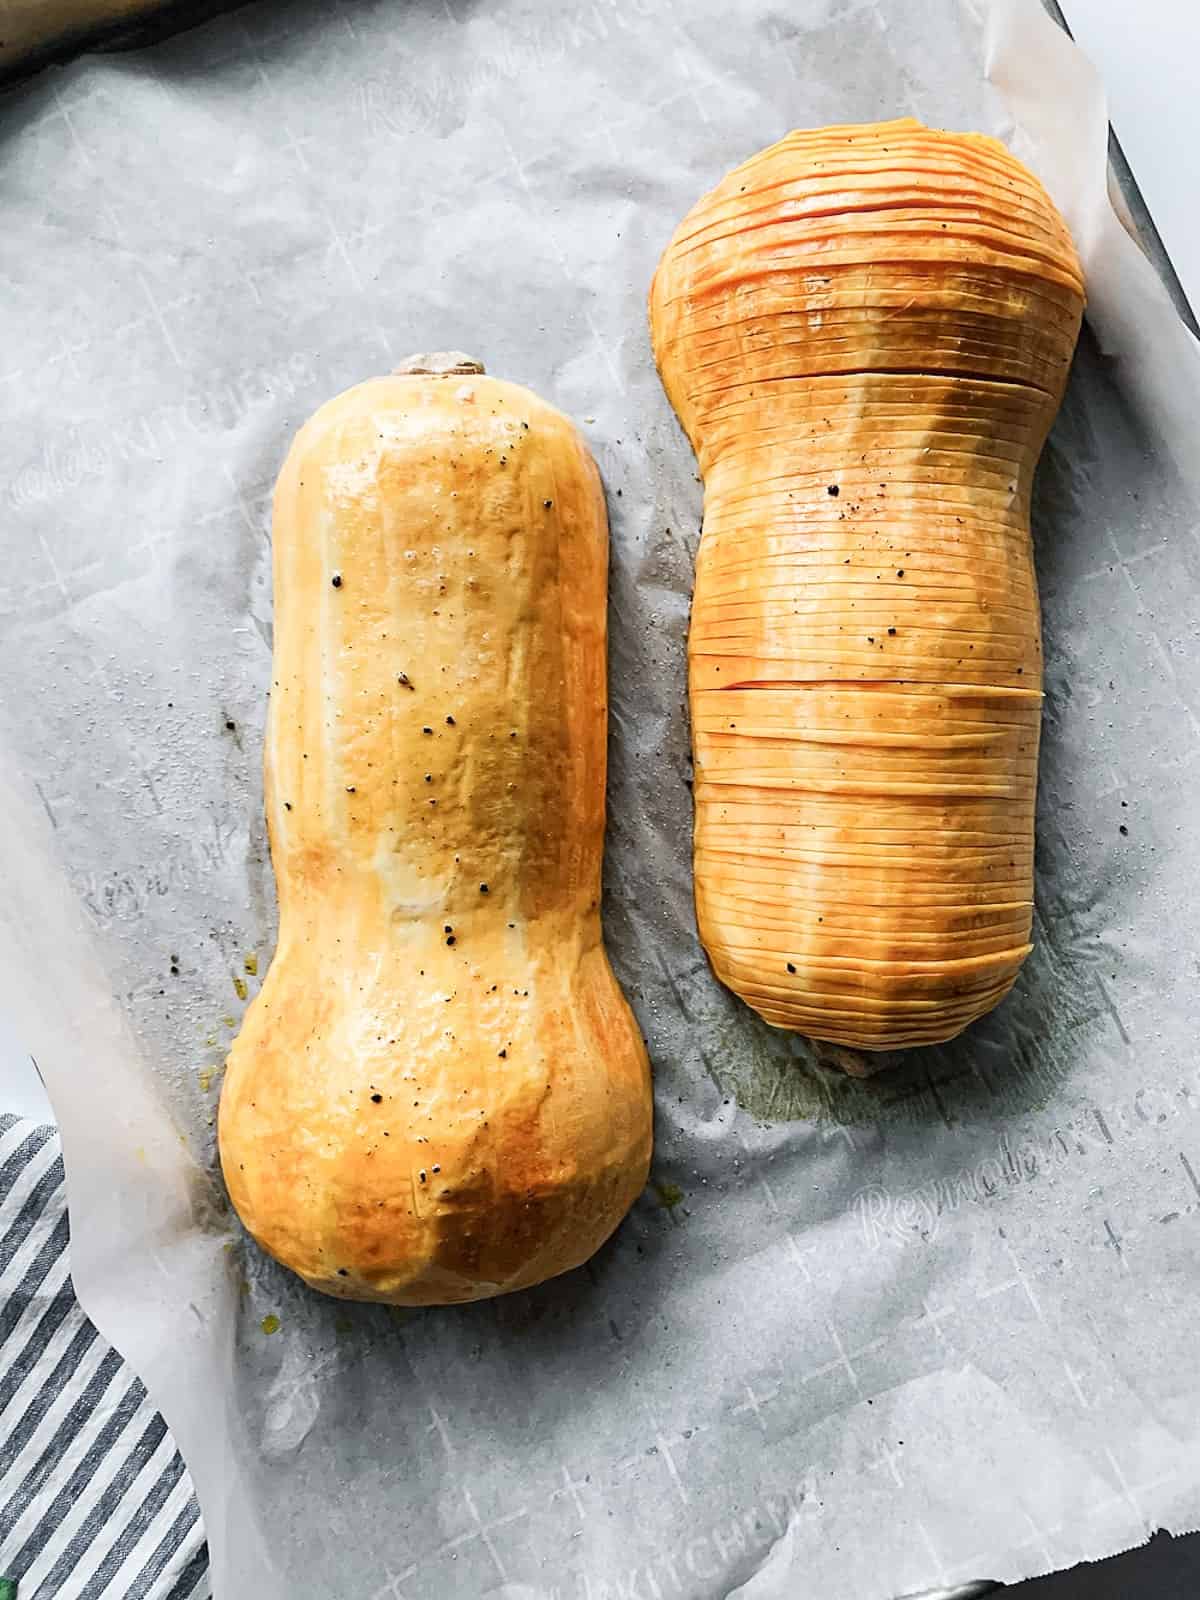
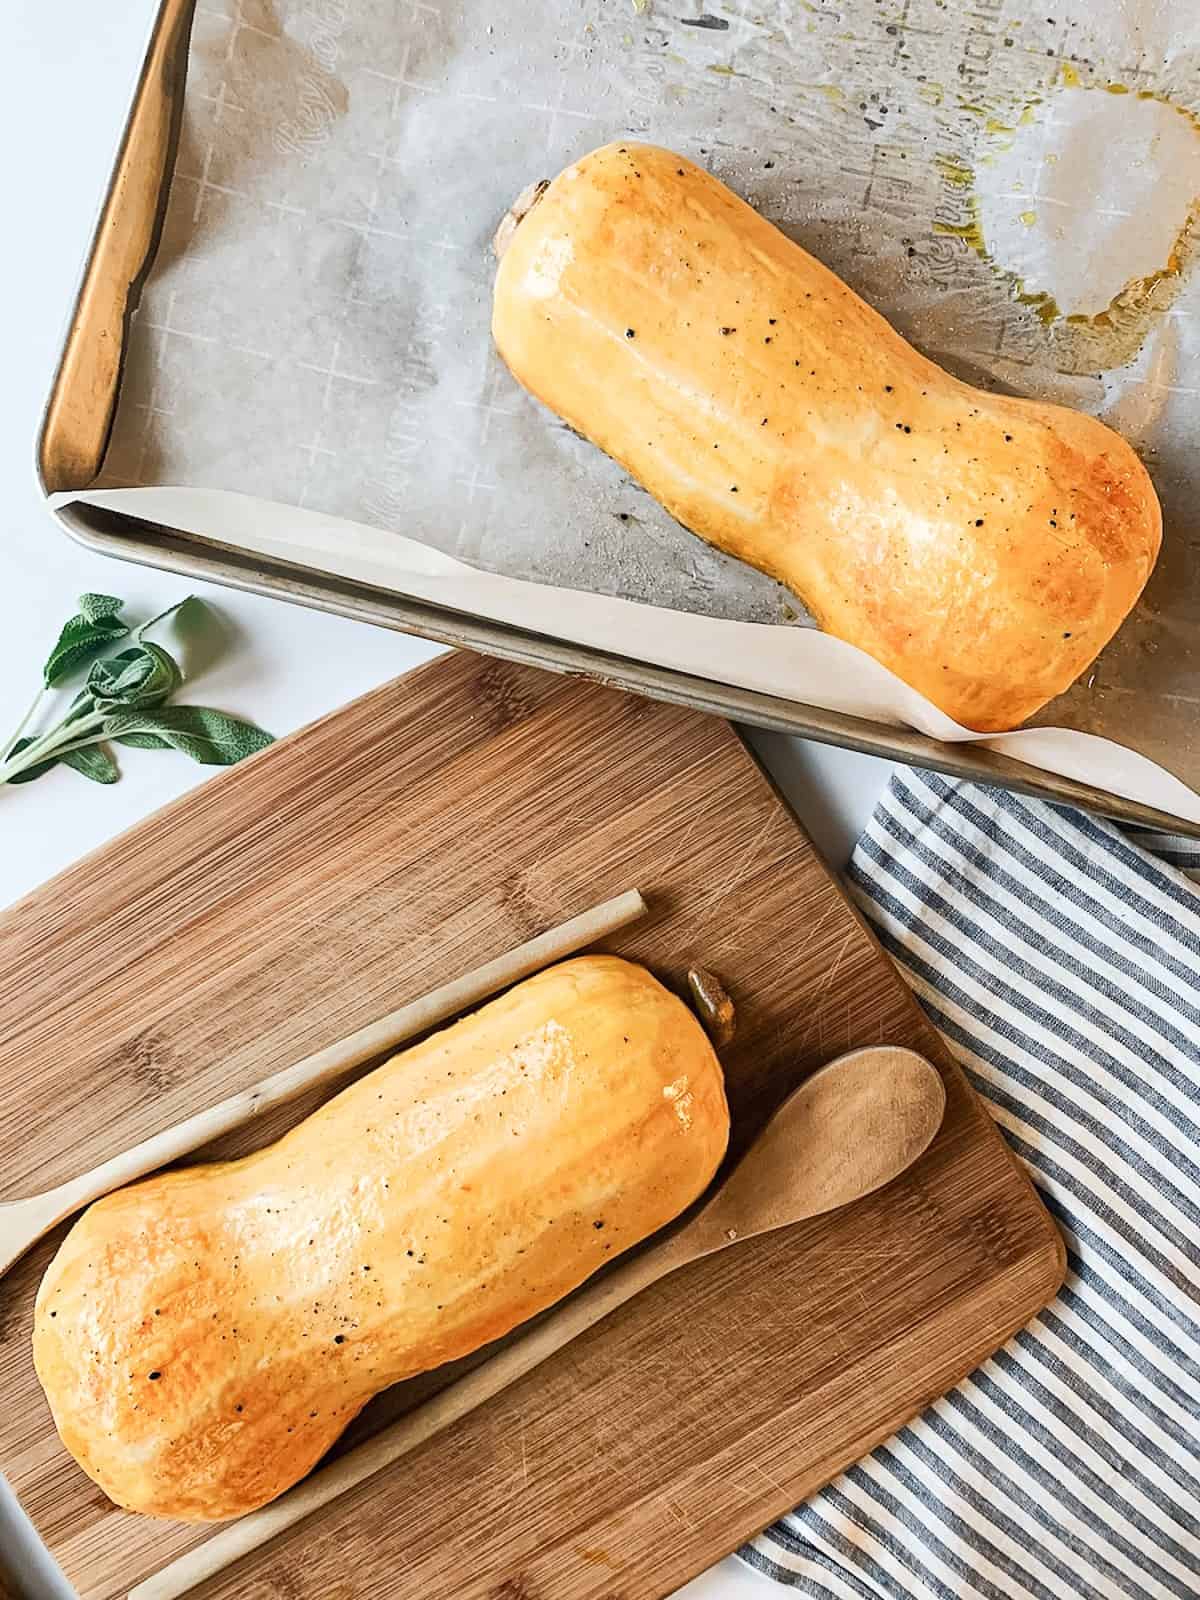
Step 4. Remove the squash halves from the oven and allow them to cool for a few minutes before transferring them to a cutting board. Place wooden spoons or a pair of chopsticks on each side of the squash and make thin slices from end to end. Cut down until you hit the wooden utensil and then stop. This will help ensure you don’t cut all the way through.
Step 5. Carefully transfer the hasselback butternut squash back to the baking sheet and put it back in the oven for another 15 minutes.
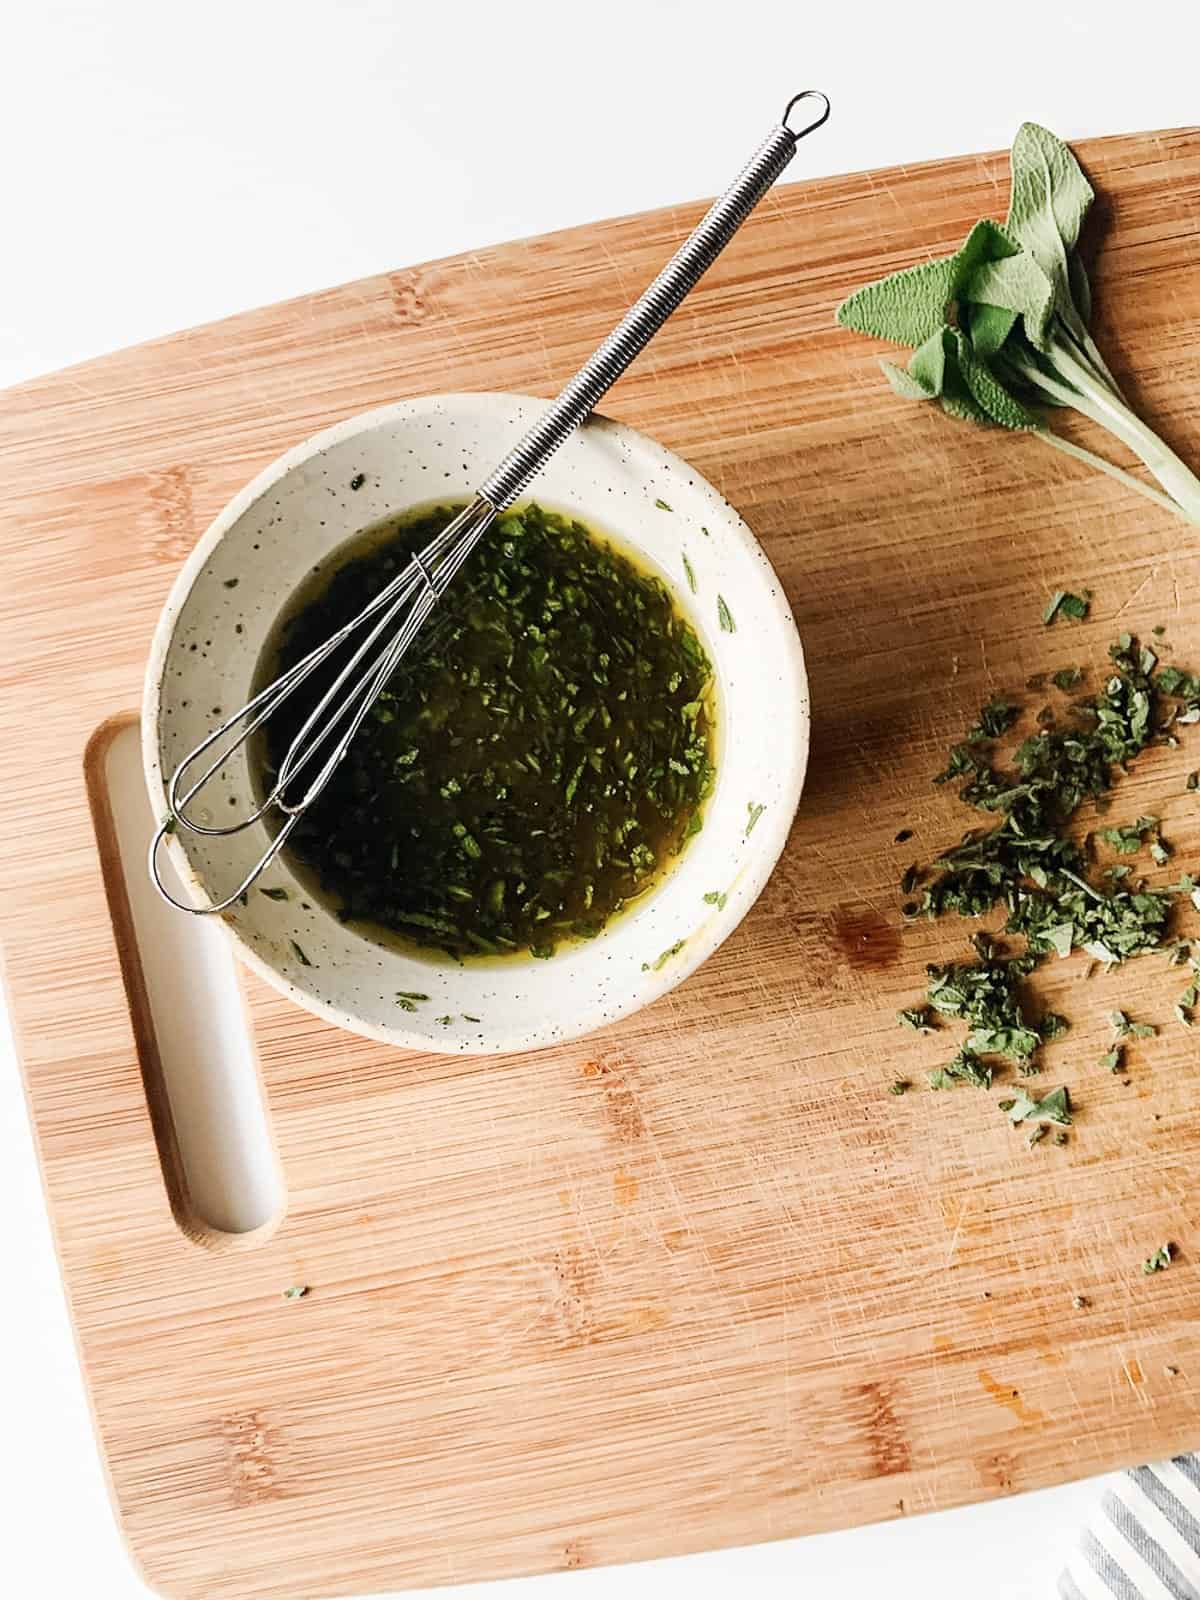
Step 6. Make the glaze by whisking together the olive oil or butter, maple syrup, vinegar, dijon mustard, minced sage leaves, and cayenne pepper in a small bowl. Season to taste with kosher salt and black pepper.
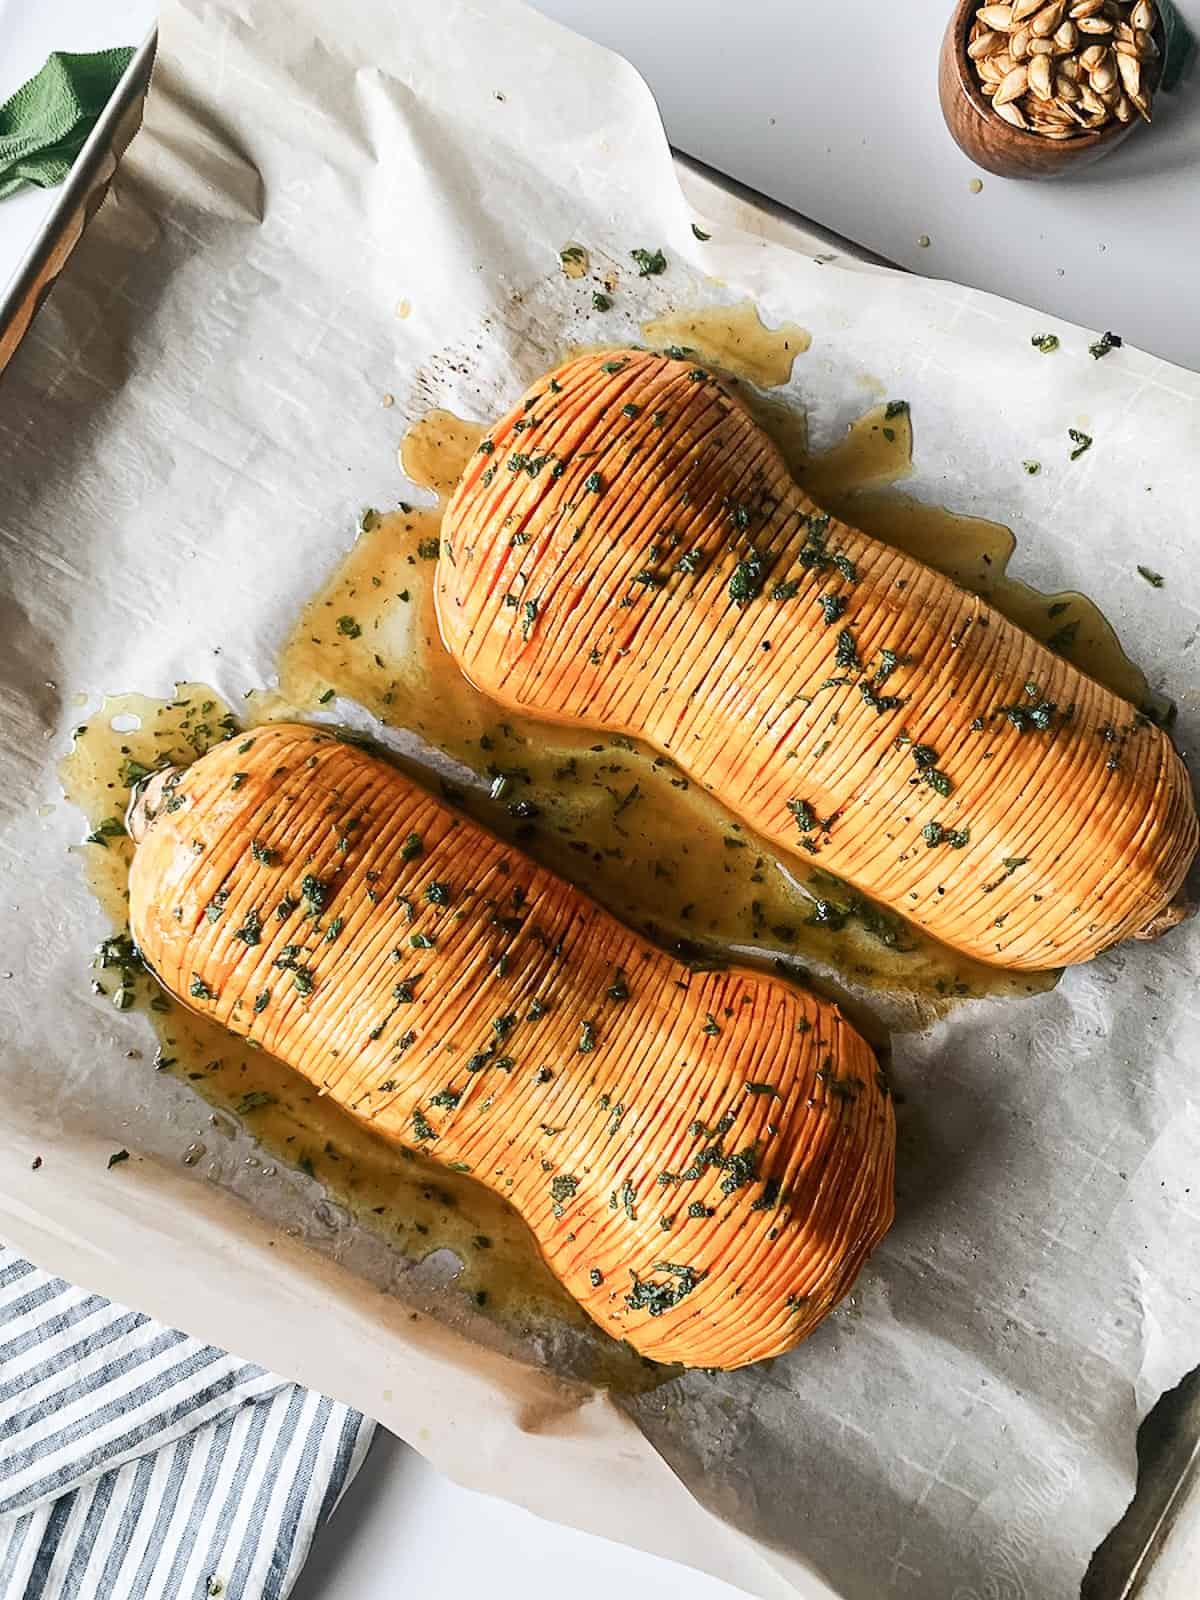
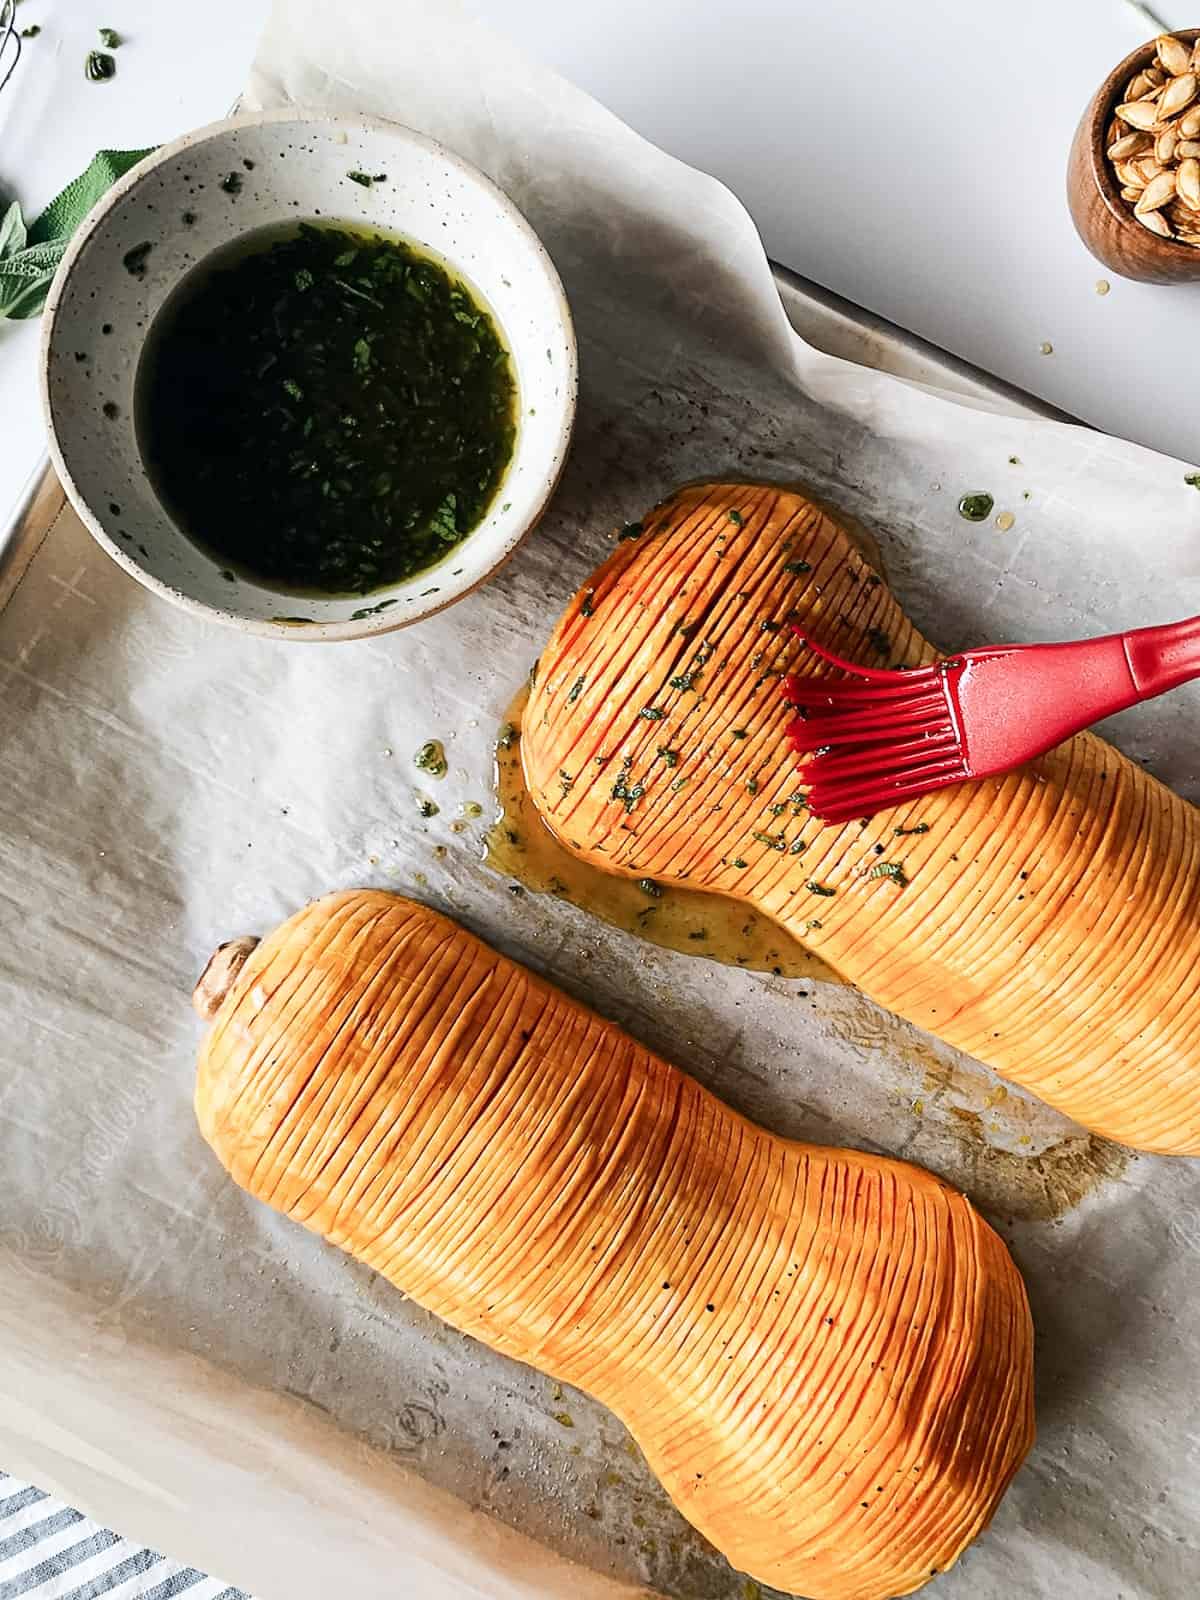
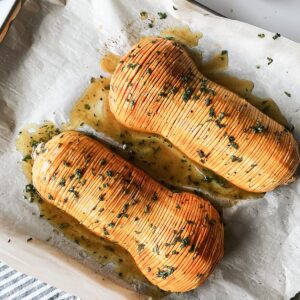
Step 7. Use a pastry brush or a spoon to distribute half of the glaze over the squash and in between the hasselback slices. Cook for an additional 10-15 minutes.
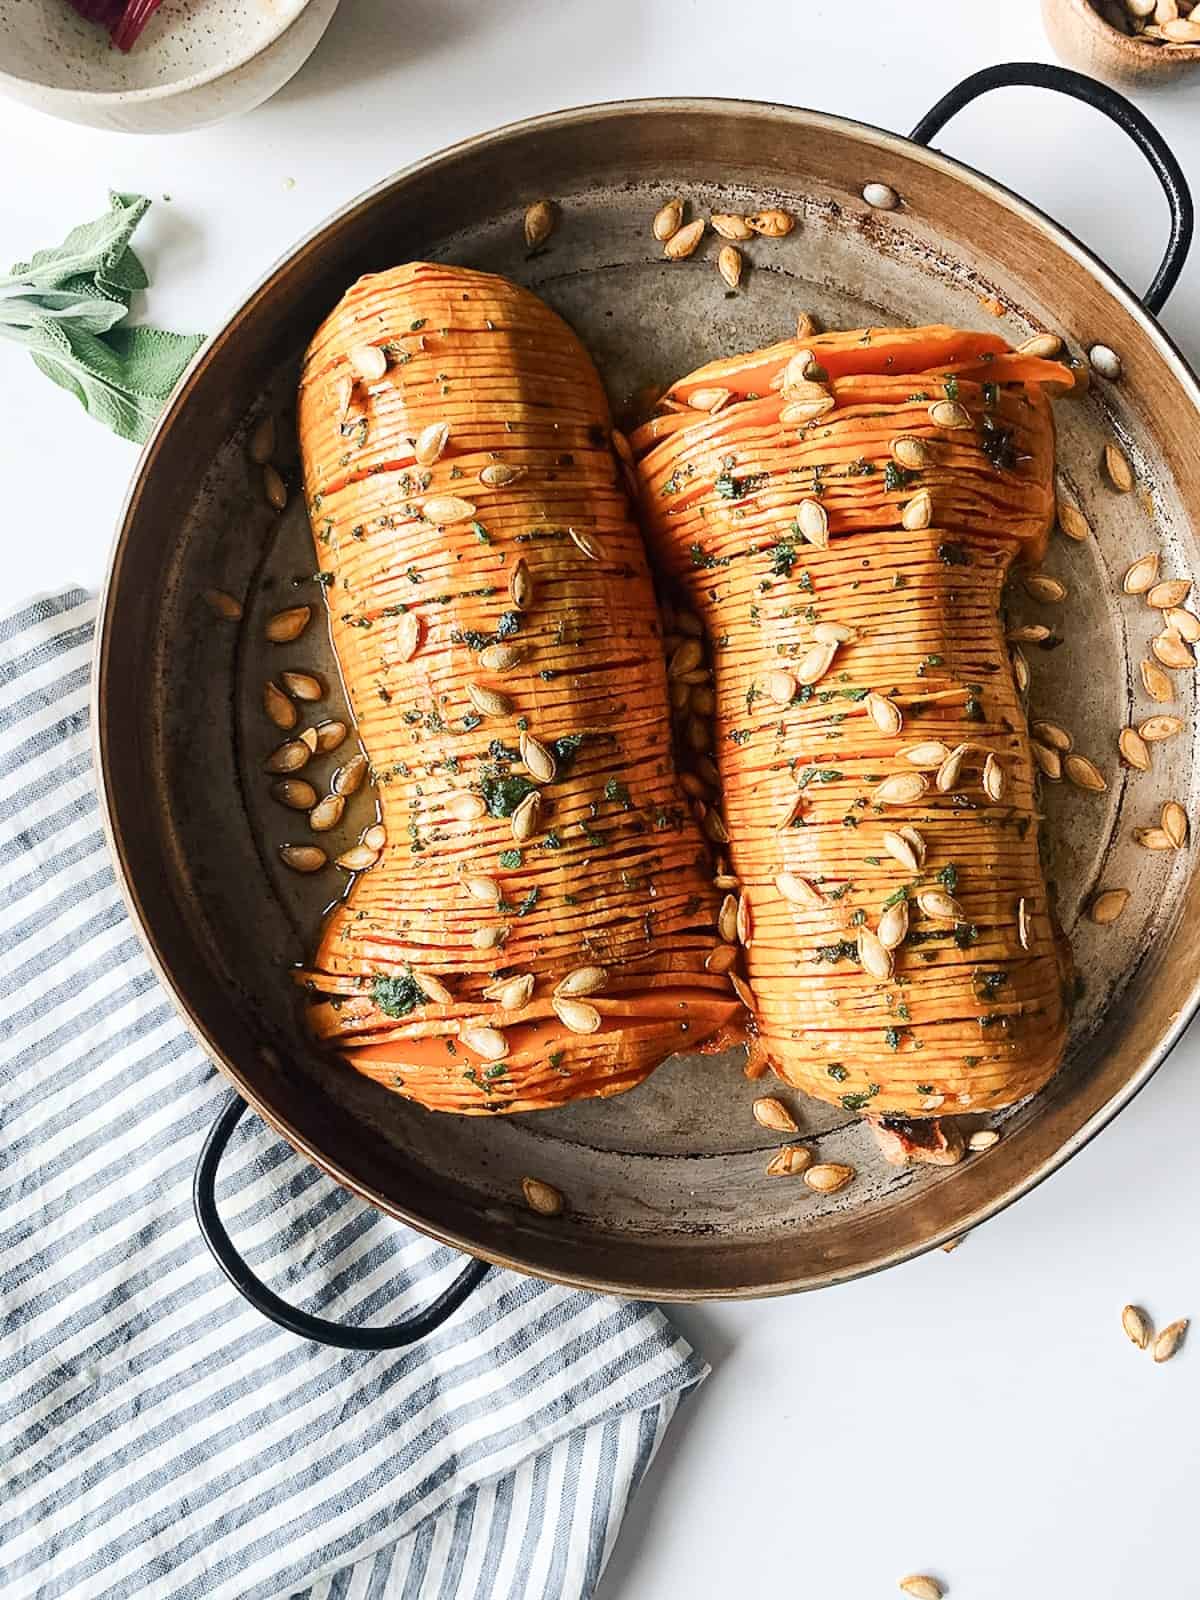
Step 8. Carefully transfer to a serving platter. Top with the rest of the maple glaze and sprinkle over the toasted seeds. Best when served warm out of the oven.
Make It Your Way: Substitutions & Variations
Please remember that recipes are just a starting point.
How can you make this Hasselback squash using what you already have? Here are some ideas…
- No butternut squash? – use a few honey nut squash, but they’ll need far less cooking time because they’re much smaller in size.
- No maple syrup? – use brown sugar or coconut sugar.
- No white wine vinegar? – you can also use champagne vinegar or apple cider vinegar instead.
- No fresh sage? – other fresh herbs that would work well are fresh thyme or fresh rosemary.
- No cayenne? – omit completely.
- No squash seeds? – feel free to use hulled pumpkin seeds (also called pepitas) or any toasted nuts of your choosing.
- Add-ins – pomegranate seeds or dried cranberries for serving.
Variations
- Hasselback vegetables – you can use the hasselback technique for several other vegetables such as eggplant, zucchini, sweet potatoes, or root vegetables.
How to Store
Store leftovers in an airtight container in the fridge for up to 3 days.
Helpful Tips
Peel first, then cut. I find it easier to peel the squash before you cut it in half.
Don’t forget the salt. Lightly salt the squash halves before you roast them. This helps to build their flavor early on.
Don’t skip the 15-minute pre-bake. It’ll make it much easier to cut the thin slits.
Use wooden spoons as a guide. This will ensure that you don’t completely cut through the squash accidentally.
The cooking time may vary depending on the size of your butternut squash.
More Butternut Squash Recipes
- Air Fryer Butternut Squash
- Butternut Squash Pizza With Caramelized Onions
- Lasagna With Butternut Squash Noodles and Spinach
- Beet and Butternut Salad
Maple Glazed Hasselback Butternut Squash
Ingredients
Hasselback Butternut Squash
- 1 medium-large butternut squash
- extra virgin olive oil
- kosher salt & black pepper
Maple Glaze
- ¼ cup extra virgin olive oil
- 2 tablespoons maple syrup
- 1 teaspoon white wine vinegar
- 1 teaspoon dijon mustard
- 2 tablespoons fresh sage, minced
- pinch cayenne pepper
- kosher salt & black pepper to taste
Instructions
- Use a vegetable peeler to peel your whole squash. Cut a thin slice off the top and bottom of the squash and stand it upright with the flat bottom surface down on a cutting board to stabilize the squash. Cut the squash in half with a very sharp knife, and scoop out the seeds, discarding the stringy bits.
- Place the squash halves cut side down on a sheet pan lined with parchment paper. Brush the squash with oil and season it with salt and black pepper. Roast for 15 minutes.
- Add the butternut squash seeds to a small baking dish. Toss with olive oil, salt, and pepper, and spread them into an even layer. Roast the seeds for 10-12 minutes (check after 10) then set aside to cool.
- Remove the squash halves from the oven and allow them to cool for a few minutes before transferring them to a cutting board. Place wooden spoons or a pair of chopsticks on each side of the squash and make thin slices from end to end. Cut down until you hit the wooden utensil and then stop. This will help ensure you don't cut all the way through.
- Carefully transfer the hasselback butternut squash back to the baking sheet and put it back in the oven for another 15 minutes.
- Make the glaze by whisking together the olive oil or butter, maple syrup, vinegar, dijon mustard, minced sage leaves, and cayenne pepper in a small bowl. Season to taste with kosher salt and black pepper.
- Use a pastry brush or a spoon to distribute half of the glaze over the squash and in between the hasselback slices. Cook for an additional 10-15 minutes.
- Carefully transfer to a serving platter. Top with the rest of the maple glaze and sprinkle over the toasted seeds. Best when served warm out of the oven.