How to Make Pumpkin Puree
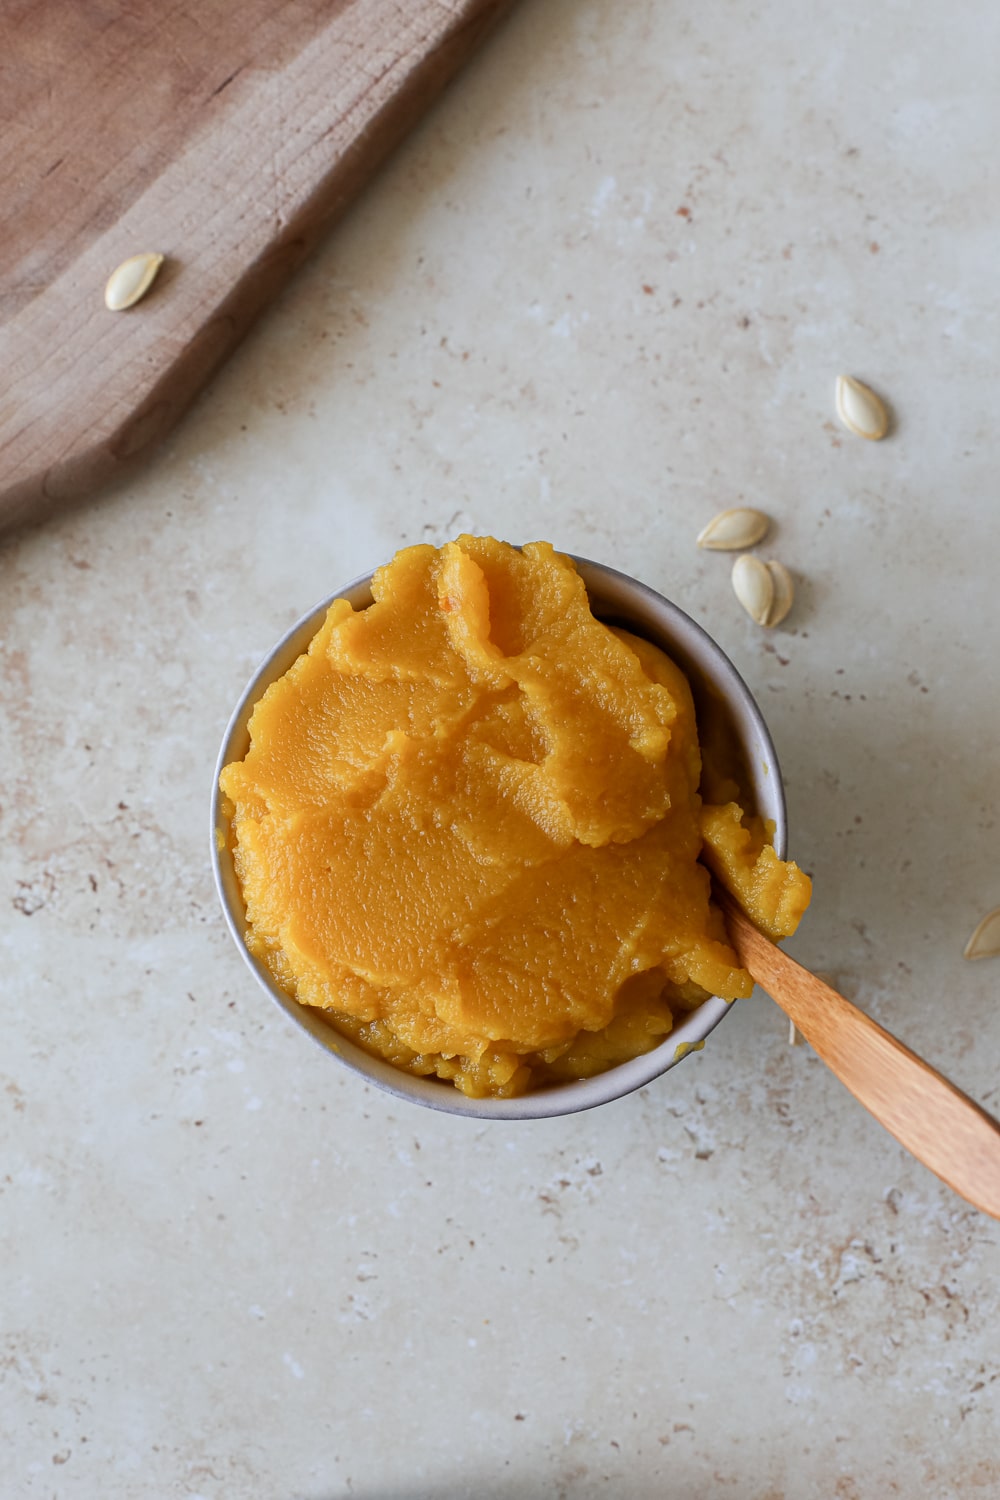
Learn how to make pumpkin puree with this easy, step-by-step guide. Use it right away or freeze it for later.
Sometimes when fall rolls around, everyone goes pumpkin happy so much so that the stores run out of canned pumpkin.
Before you get sad thinking about how you can no longer make your favorite dessert, now you have a backup plan: homemade pumpkin puree. Not only is the flavor superior to store-bought, but it also means you can now make roasted pumpkin seeds.
So, really, it’s a win after all.
How to Make Pumpkin Puree
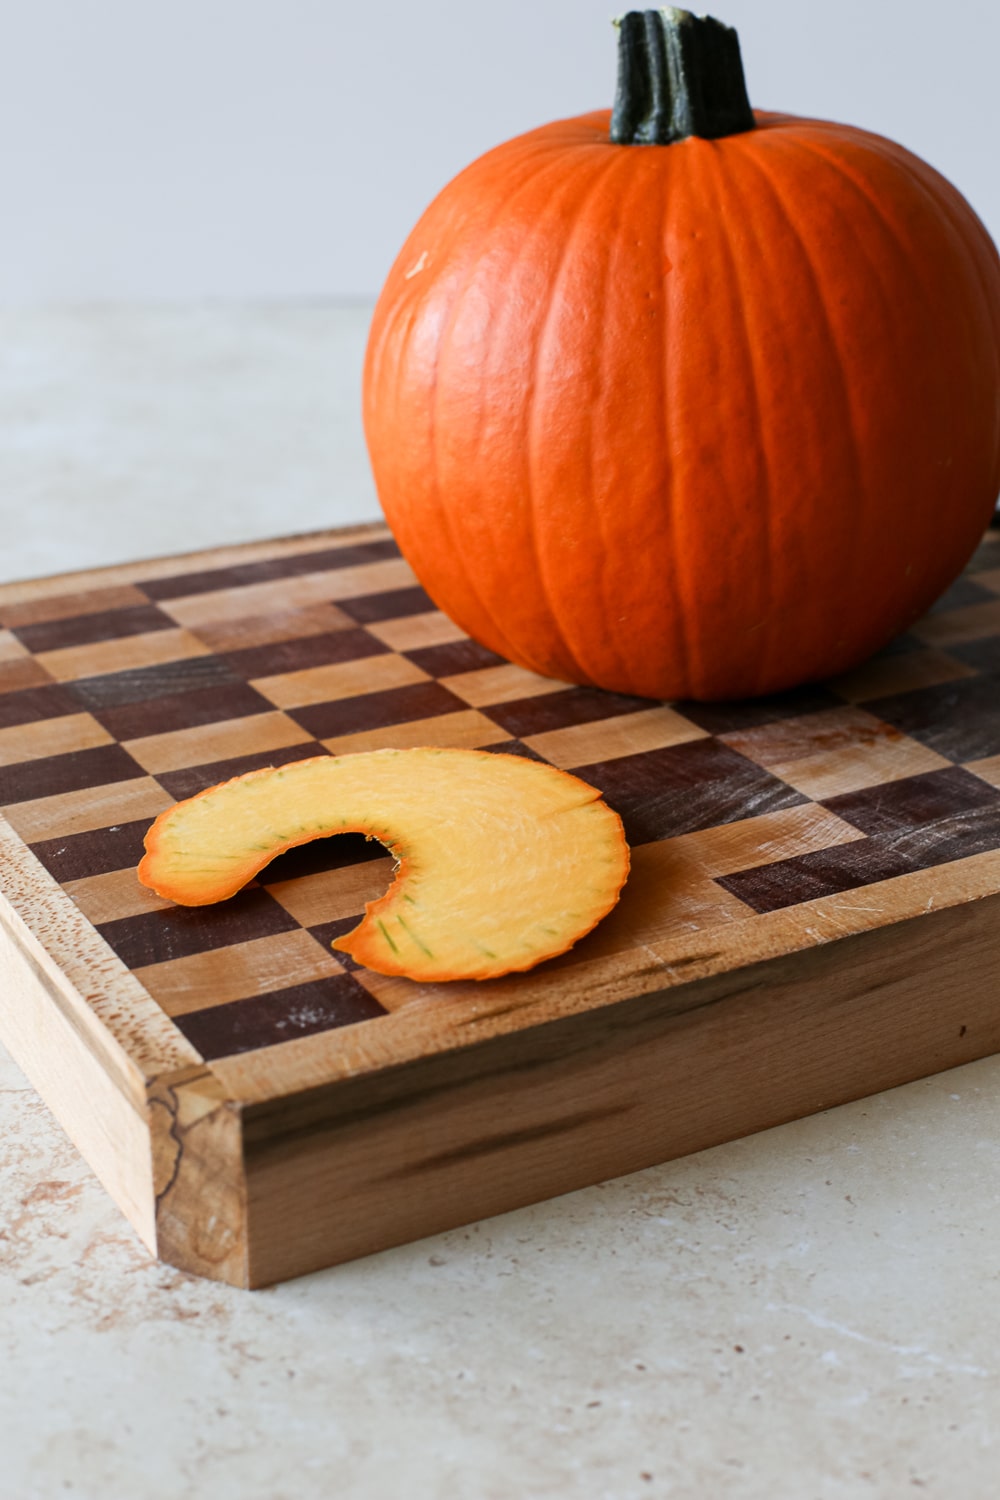
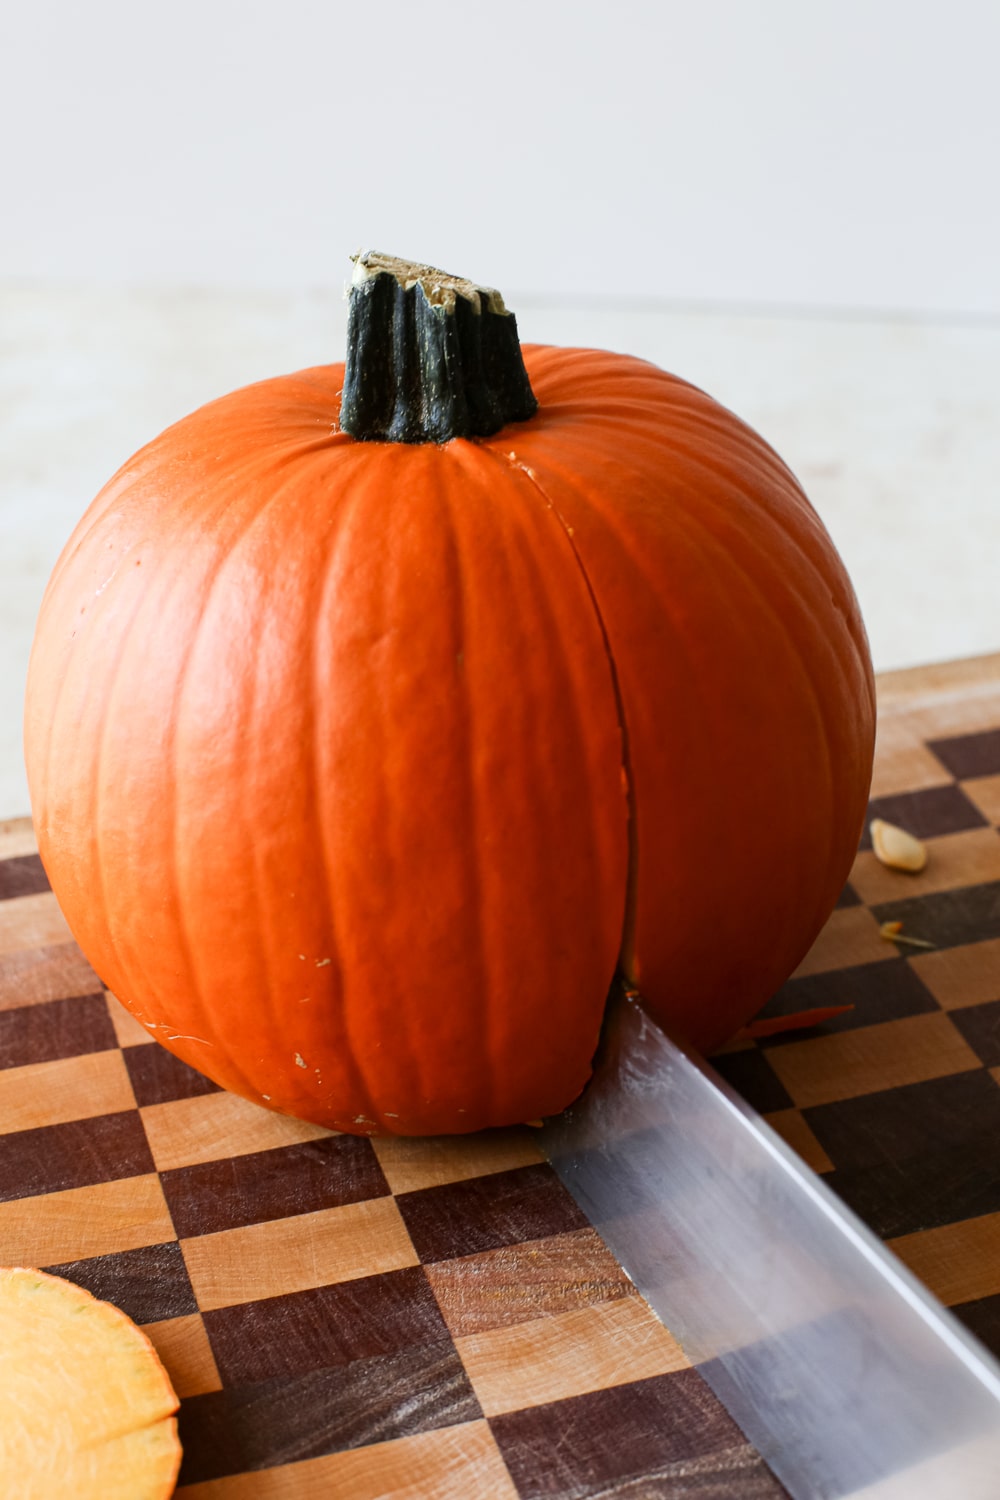
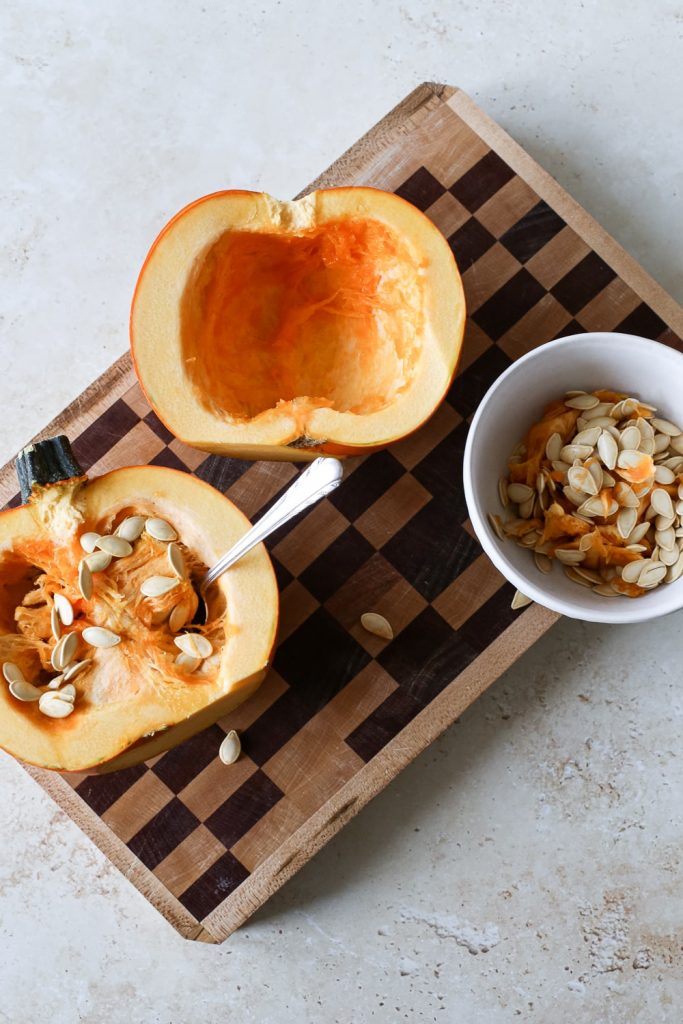
Cut the pumpkin. Start by cutting the bottom off of your pumpkin so that it lays flat on the cutting board. Don’t try to cut through the stem (it’s too hard and you’ll potentially end up hurting yourself). Starting at either side of the stem, with your hand steadying on the other half, carefully cut through the pumpkin halfway. Now do the same thing on the other side. It’s okay if it doesn’t line up, it doesn’t need to be perfect. Now put the knife down and pick up the bottom of the pumpkin and using your hands, pull the two halves apart.
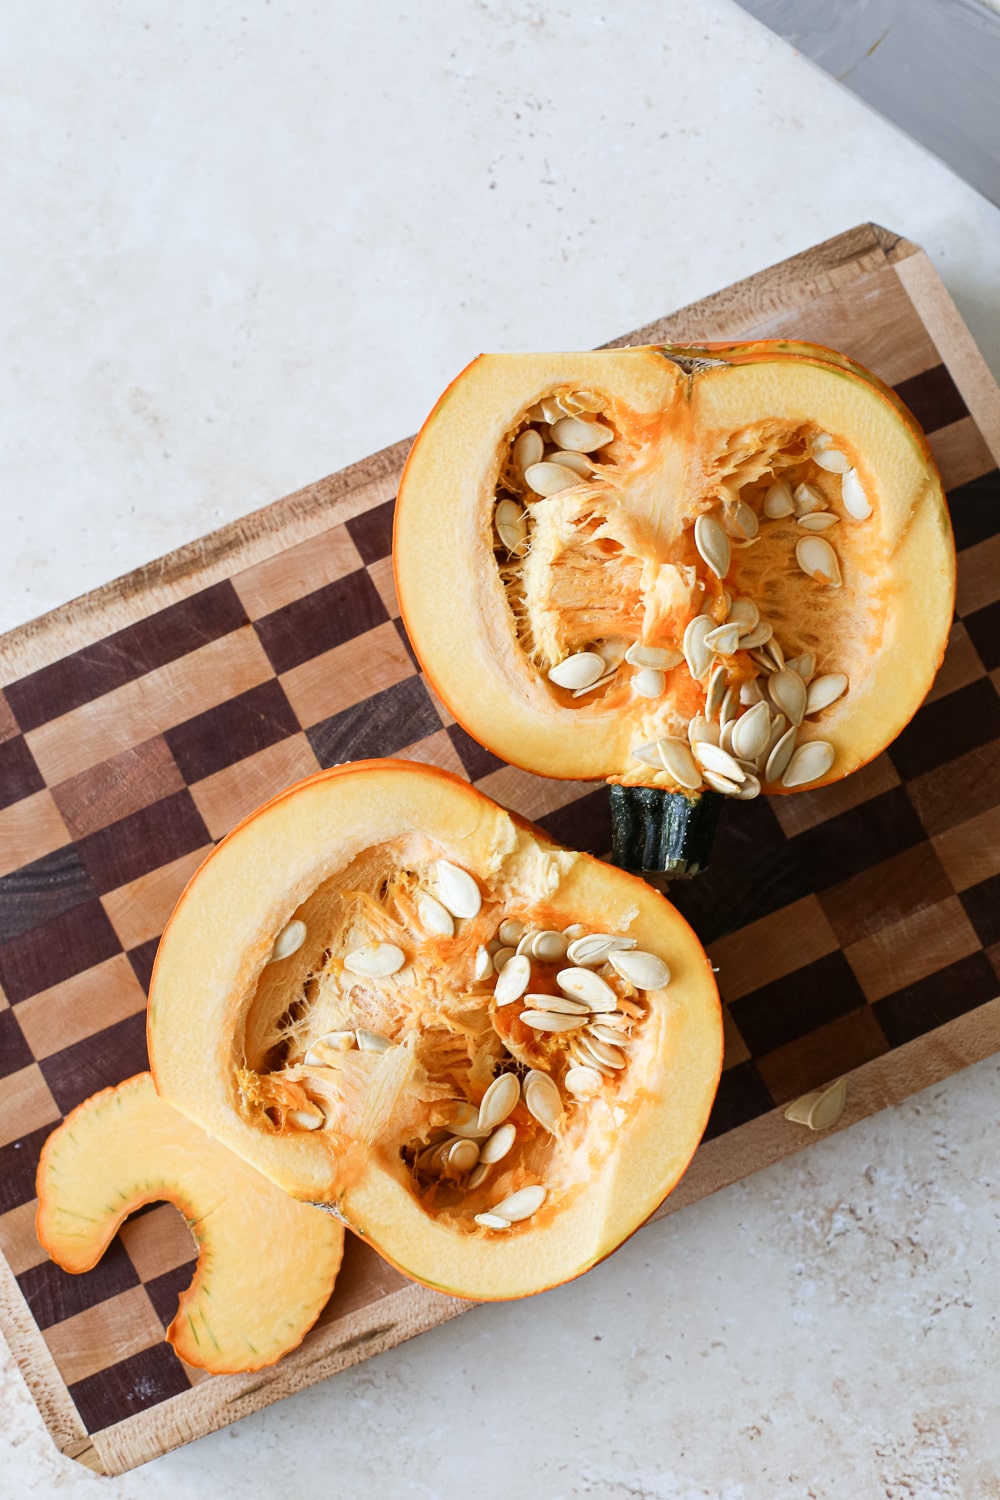
Remove the seeds. Scoop out the seeds and the majority of stringy bits and set them aside. Lightly season the pumpkin halves with kosher salt and put on a lined baking sheet cut downside.
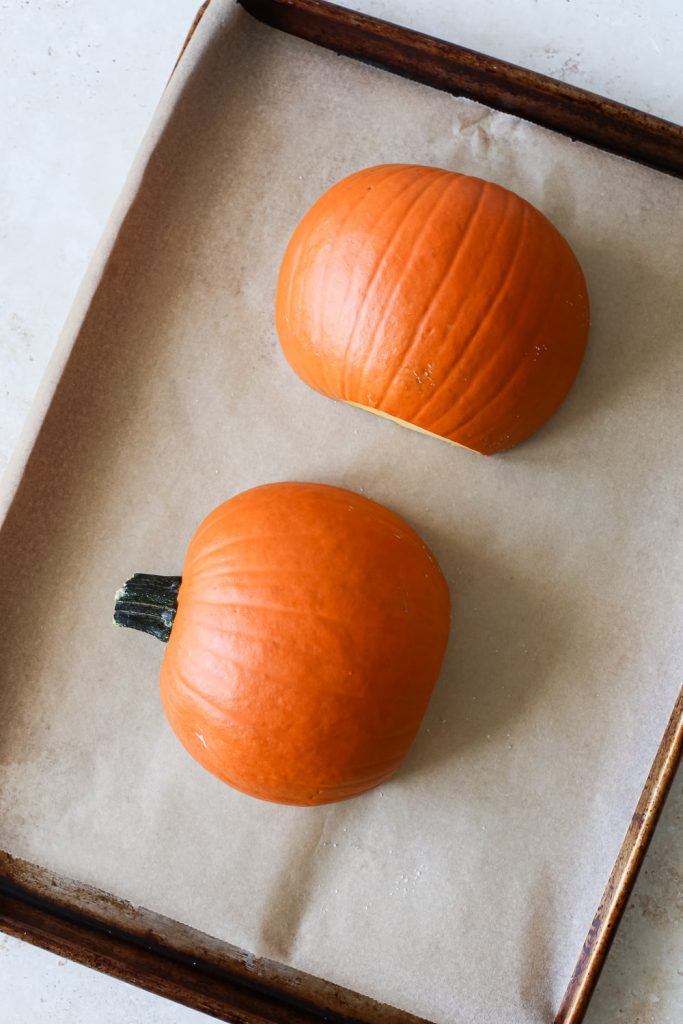
Bake. Bake for 45-55 minutes. It’s done when a fork easily glides through.
Let cool. With a fork or spatula, carefully flip the pumpkin halves to let the steam escape and allow it to cool for a bit before scooping out the flesh.
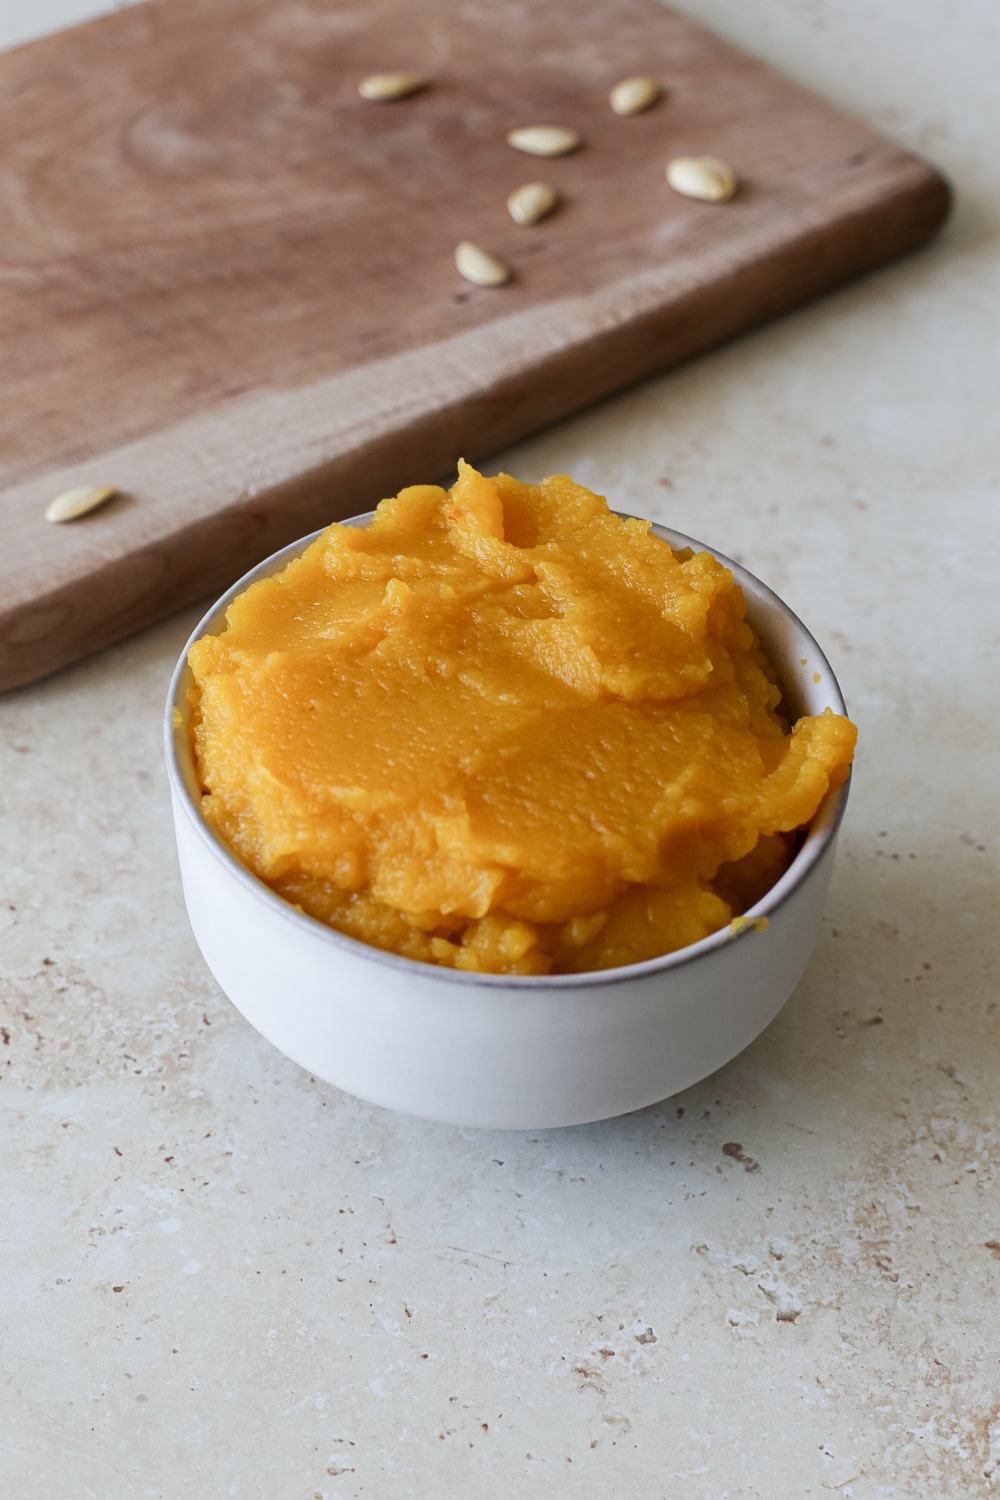
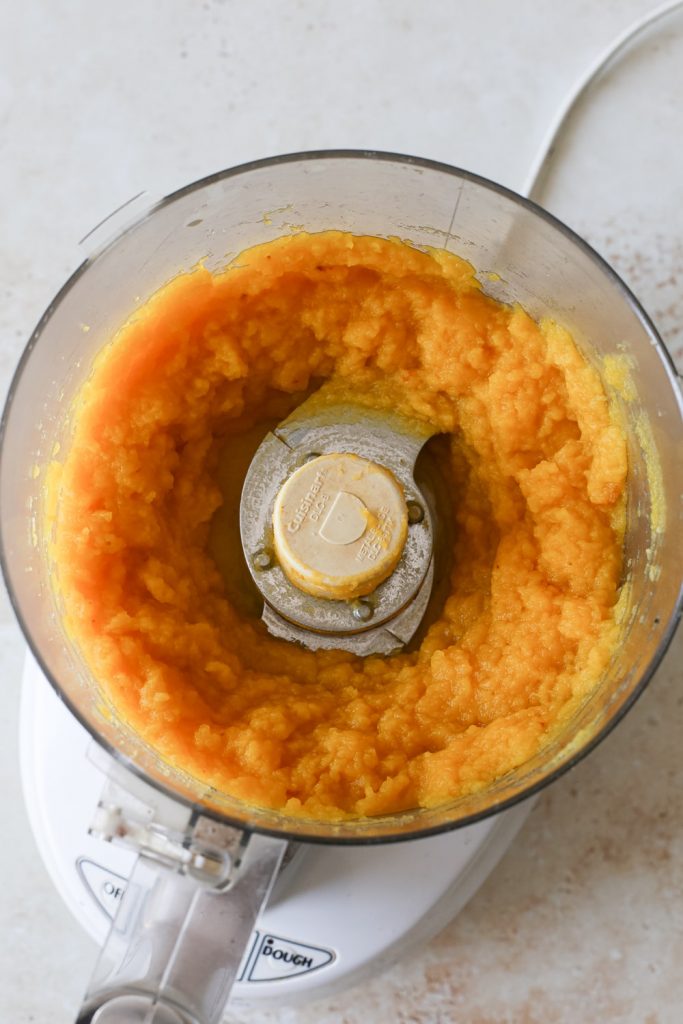
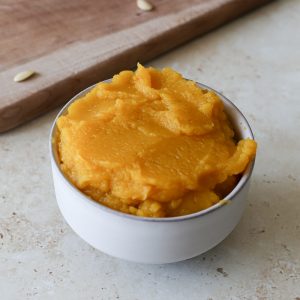
Puree. The pumpkin will have some golden brown spots on the flesh, so don’t scrape those off (they’ll give it an even better flavor). For the smoothest consistency, add the pumpkin to the bowl of a food processor and blend until smooth.

Make It Your Way: Ingredient Substitutions
Please remember that recipes are meant to be used as guides.
How can you make this pumpkin puree using what you already have? Here are some ideas…
- No pumpkin? ➝ sub butternut squash, acorn squash, or another variety (they’re all in the winter squash family)
- No kosher salt? ➝ use another kind, just make sure you know how salty your salt is
Helpful Cooking Tips
WHAT TYPE OF PUMPKIN WORKS BEST?
When making pumpkin puree, sugar pumpkins (also called pie pumpkins or sweet pumpkins) are ideal. Because they’re smaller than Jack-‘o-lantern pumpkins, their flesh is sweeter and less fibrous.
BATCH COOK
For the most efficiency, make a large batch using 2-3 pumpkins (or another winter squash variety). If you plan on doing a lot of pumpkin-related baking, this is the way to go.
HOW TO STORE PUMPKIN PUREE
Store in an airtight container in the fridge for up to 1 week or in the freezer for up to 3 months. Thaw overnight in the fridge when ready to use.
More Cooking Basics You’ll Love
Pumpkin Puree
Ingredients
- sugar pumpkin(s) or substitute
- kosher salt
Instructions
- Preheat your oven to 400°F.
- Cut the pumpkin. Start by cutting the bottom off of your pumpkin so that it lays flat on the cutting board. Don’t try to cut through the stem (it’s too hard and you’ll potentially end up hurting yourself). Starting at either side of the stem, with your hand steadying on the other half, carefully cut through the pumpkin halfway. Now do the same thing on the other side. It’s okay if it doesn’t line up, it doesn’t need to be perfect. Now put the knife down and pick up the bottom of the pumpkin and using your hands, pull the two halves apart.
- Remove the seeds. Scoop out the seeds and the majority of stringy bits and set them aside. Lightly season the pumpkin halves with kosher salt and put on a lined baking sheet cut downside.
- Bake. Bake for 45-55 minutes*. It’s done when a fork easily glides through.
- Let cool. With a fork or spatula, carefully flip the pumpkin halves to let the steam escape and allow it to cool for a bit before scooping out the flesh.
- Puree. The pumpkin will have some golden brown spots on the flesh, so don’t scrape those off (they’ll give it an even better flavor). For the smoothest consistency, add the pumpkin to the bowl of a food processor and blend until smooth.
Notes
- *If your pumpkin is larger, you may need to cook it longer. For reference, my pumpkin was 2.3 pounds and only needed 45 minutes.
- Makes about 1 1/3 cup pumpkin puree, but will vary depending on the size of your pumpkin.
-
How can you make this pumpkin puree using what you already have? Here are some ideas…
- No pumpkin? ➝ sub butternut squash, acorn squash, or another variety (they’re all in the winter squash family)
- No kosher salt? ➝ use another kind, just make sure you know how salty your salt is