Caramelized Onions For Burgers (And Beyond)
Caramelized onions are a flavorful, versatile condiment for burgers, bowls, sandwiches, pizza, and so much more! Make them ahead of time so you always have an easy way to add heaps of flavor to your meals.

Caramelized onions are one of the homemade condiments I always have stashed in my fridge. For me, they’re a non-negotiable topping for burgers, pizza, scrambled eggs, and more. They have so many uses and are very easy to make.
They just require a little patience because onions must be cooked at a low temperature to achieve even browning of the natural sugars that get released when heated.
Ingredients

- Onions – yellow onions are always my go-to since they’re so versatile and readily available. Plus, they caramelize nicely. But, you can also use white or red onions or even shallots. Just avoid using sweet onions.
- Olive oil – to cook the onions.
- Kosher salt – helps draw out the natural sweetness in the onions and also balances the flavor.
- Deglazing liquid – water, broth, vinegar (sherry, balsamic, red wine, etc.), wine. It really depends on what you have on hand and your flavor preference.
How to Make Caramelized Onions
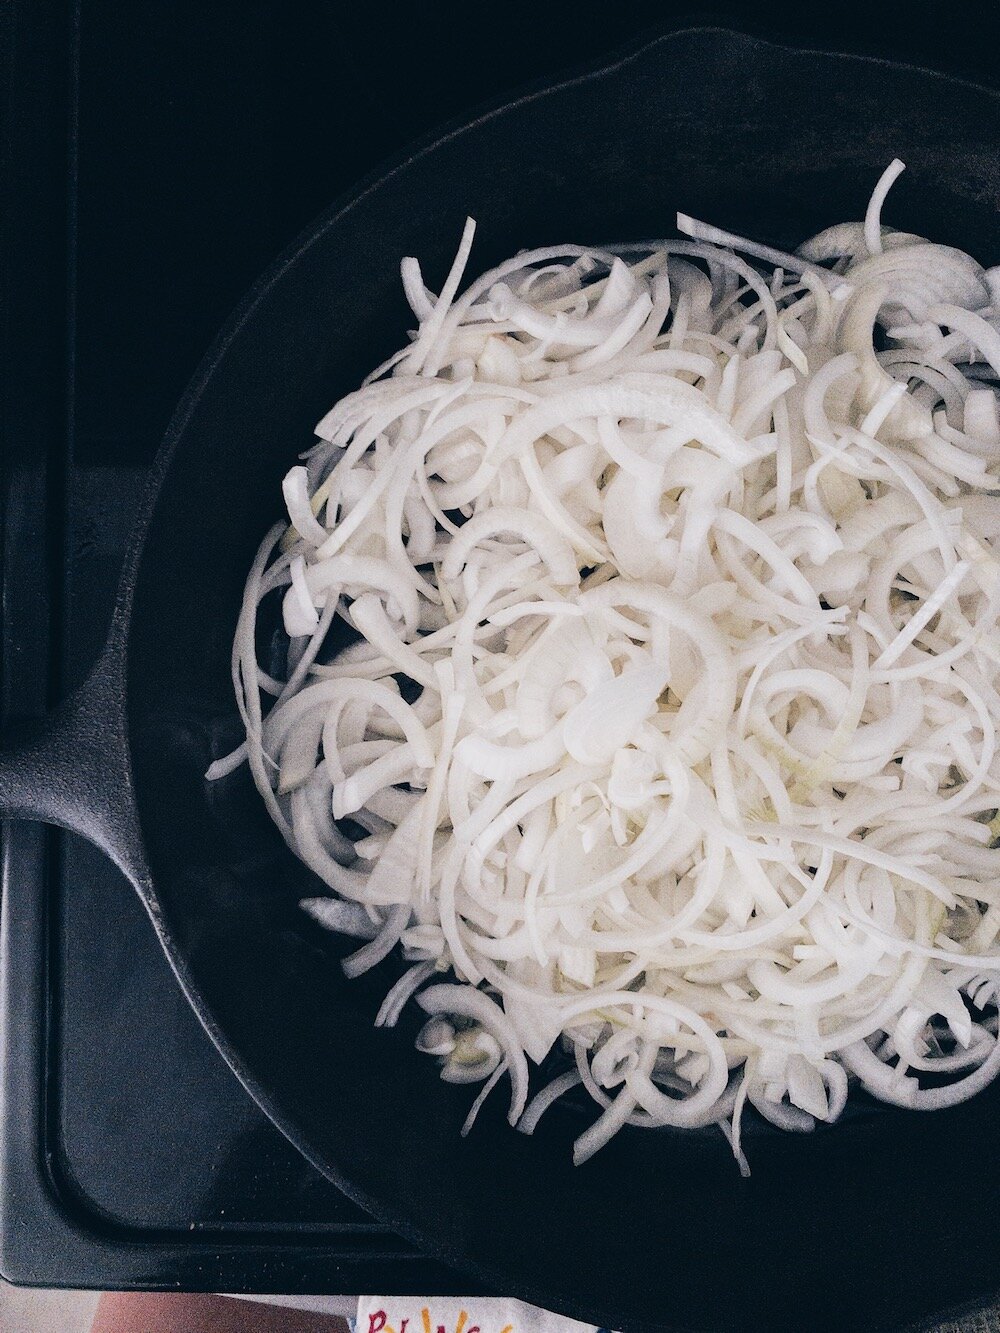
Step 1. Heat a large skillet over medium heat (no higher). Once hot, add the oil to coat the bottom of the pan.
Step 2. Add the onions to the pan and mix them around to coat them in the oil. Then spread them out and let them cook untouched for about 6-8 minutes.
Step 3. Season with a pinch of salt and stir the onions. As they continue to cook, the onions will start sticking to the pan a bit more (which is when the fond starts forming). If you notice the onions starting to brown too quickly, turn the heat down a little.

Step 4. When you notice they’re starting to stick, deglaze the pan with about 1 1/2 tablespoons of deglazing liquid and then scrape the bottom of the pan to help break up the fond and stir the onions around.
Step 5. Continue cooking the onions while stirring occasionally. Once you notice them starting to stick again, deglaze the pan with another 1 1/2 tablespoons of liquid while scraping the bottom of the pan.
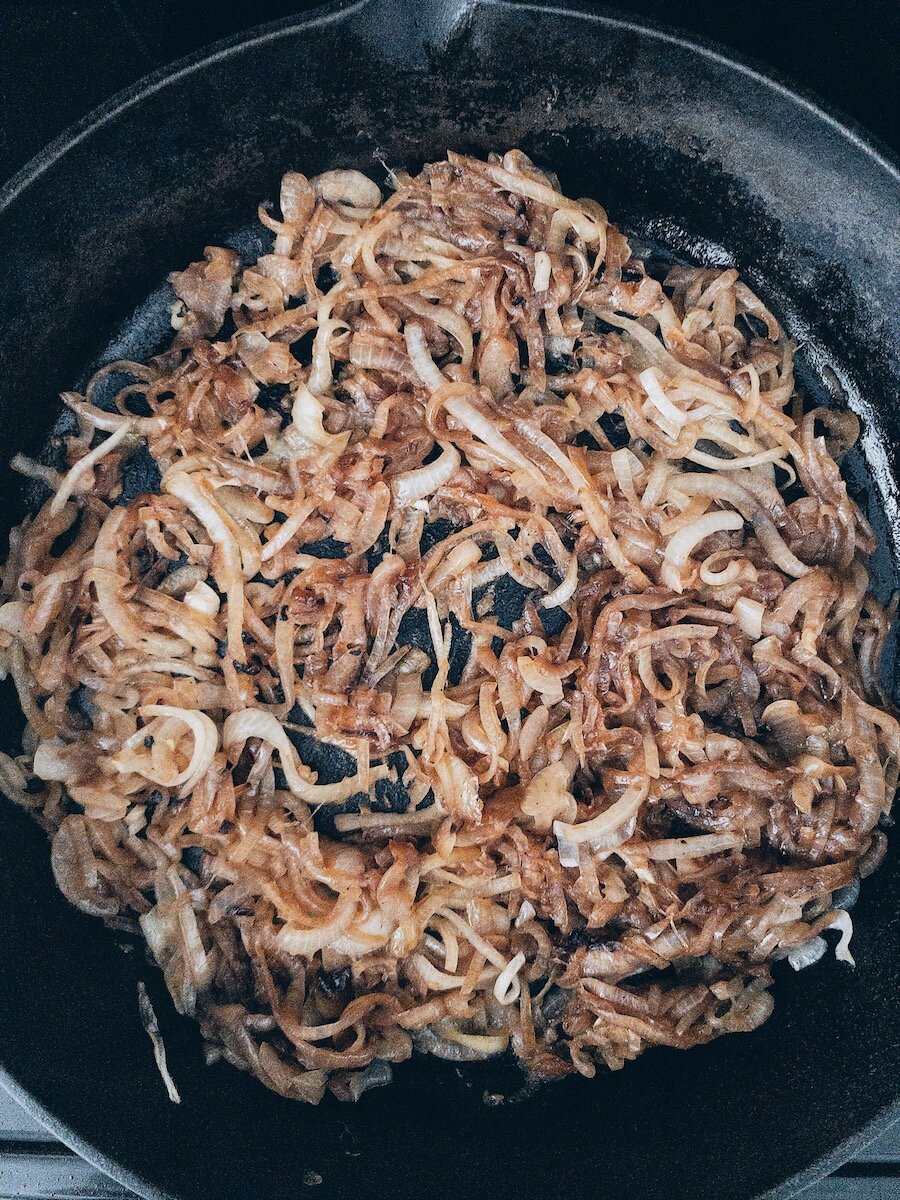
Step 6. Continue with this method until you’ve deglazed the onions three times.
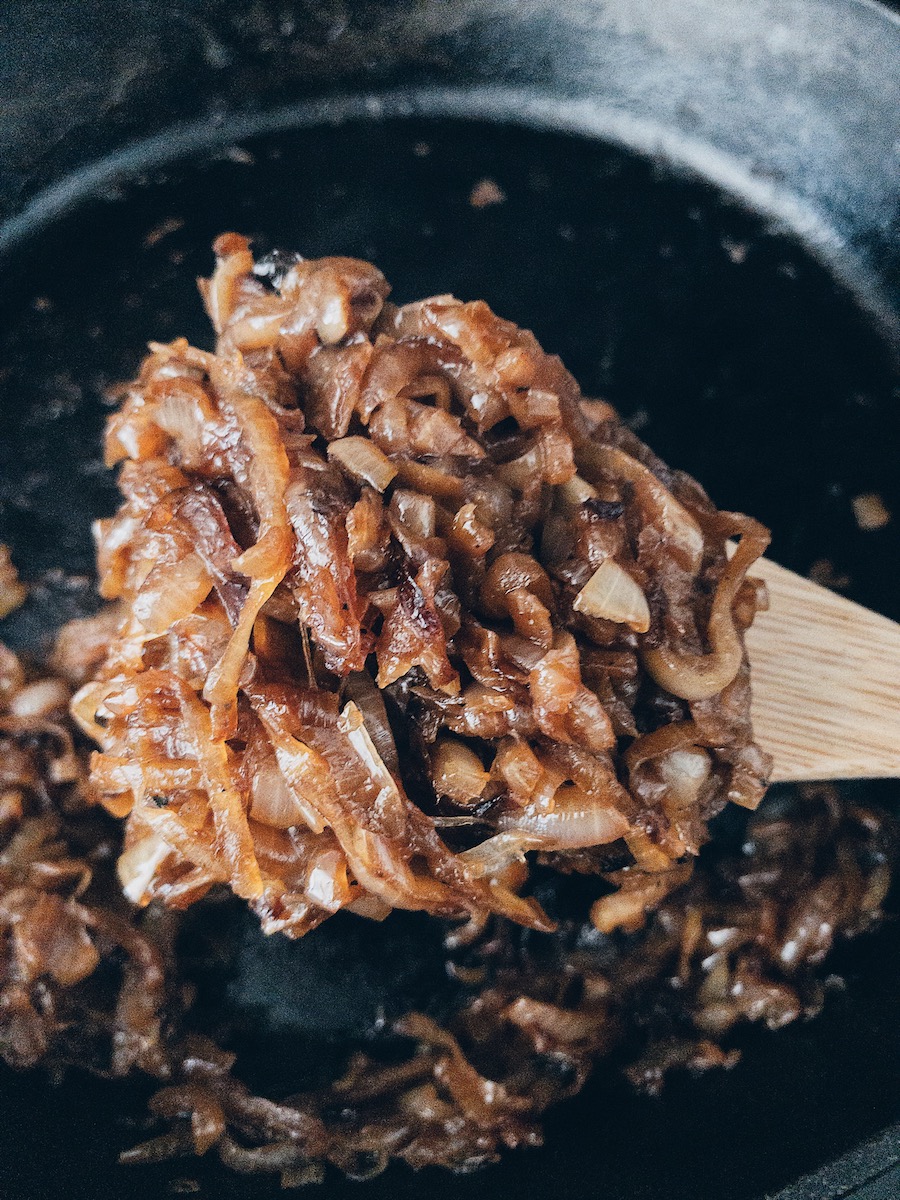
Step 7. After 30 minutes, turn the heat down to low. Let them caramelize and deepen in color for an additional 10 minutes before removing them from the heat.

Helpful Tips
Use the right pan. Stainless steel or cast iron pans work best. Avoid using a non-stick pan.
Avoid high heat. You’ll end up with burnt onions instead of caramelized onions.
Don’t slice the onions too thin. Cutting them too thin can cause them to burn.
Deglaze your pan. This means you’ll be releasing all the caramelized, flavorful bits (called fond) that have stuck to the bottom of the pan.
Practice patience. Good things take time, and this is definitely the case when making caramelized onions.
Don’t remove the onions from the pan too early. You’ll miss out on that rich, caramel flavor.
Frequently Asked Questions
Deglazing is a cooking technique that helps remove the browned bits that have stuck to the bottom of the pan during the cooking process. These flavorful, browned bits called fond need the help of a liquid to release their flavor back into the onions.
Store in an airtight container in the fridge for up to 1 week.
Both! If used for burgers though, I find they taste best served warm.
What to Serve Caramelized Onions With
- Butternut Squash Pizza
- Any Kind of Savory Galette
- 10-Minute Pizza Wraps
- Creamy Polenta
- Healthy Breakfast Hash
- Homemade burgers or burger bowls
- And more!
Caramelized Onions For Burgers (And Beyond)
Ingredients
- 5-6 cups sliced yellow onions about 2 large
- 2 tablespoons olive oil
- pinch kosher salt
- 4 ½ tablespoons deglazing liquid, divided water, broth, vinegar, or wine
Instructions
- Heat a large skillet over medium heat (no higher). Once hot, add the oil to coat the bottom of the pan.
- Add the onions to the pan and mix them around to coat them in the oil. Then spread them out and let them cook untouched for about 6-8 minutes.
- Season with a pinch of salt and stir the onions. As they continue to cook, the onions will start sticking to the pan a bit more (which is when the fond starts forming). If you notice the onions starting to brown too quickly, turn the heat down a little.
- When you notice they're starting to stick, deglaze the pan with about 1 1/2 tablespoons of deglazing liquid and then scrape the bottom of the pan to help break up the fond and stir the onions around.
- Continue cooking the onions while stirring occasionally. Once you notice them starting to stick again, deglaze the pan with another 1 1/2 tablespoons of liquid while scraping the bottom of the pan.
- Continue with this method until you’ve deglazed the onions three times.
- After 30 minutes, turn the heat down to low. Let them caramelize and deepen in color for an additional 10 minutes before removing them from the heat.
- Store in an airtight container in the fridge for up to 1 week.
This recipe is delicious for French Onion Soup. With a food restriction on dairy and gluten, the recipe only needed the substitution of avocado oil in place of butter. I used homemade chicken bone broth to deglaze. The soup (for the restricted diet, was fine with substitute cheese and gluten free (toasted) bread.
I will make this recipe for caramelized onions with ease. It’s a very versatile and flavorful.
Evie